How to setup your B2B Portal
 Updated
You can offer any product for wholesale prices in your B2B Portal.
Customise your B2B branding
Before you offer your products to other businesses on the Stockpilot b2b portal, you might want to add a logo, header image and write some text on the landing page.
Below we'll guide you step by step through this initial setup.
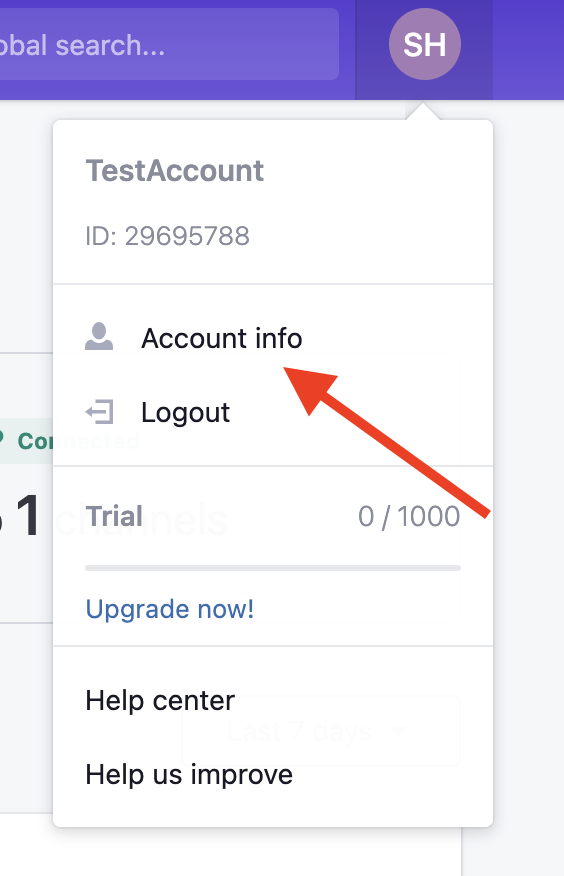
- Navigate to Account info in the right dropdown menu
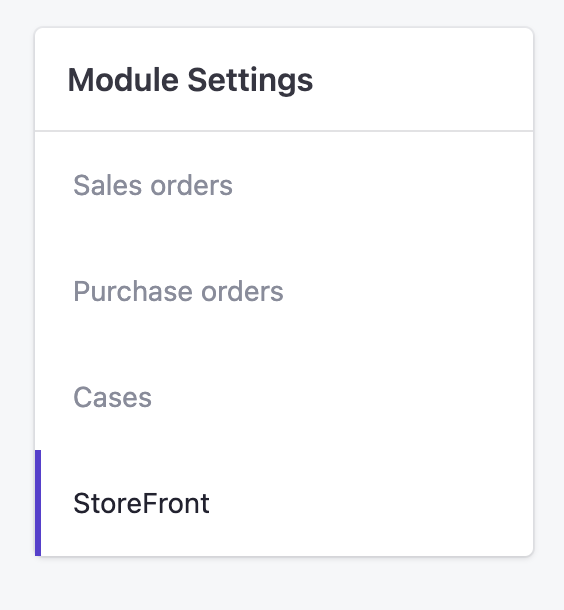
- Next click on the Modules tab

- On the right you click on the module named StoreFront
- Click on the red box to add your logo and on the orange box to add a header. If needed change your store name and email. To save hit Save changes.
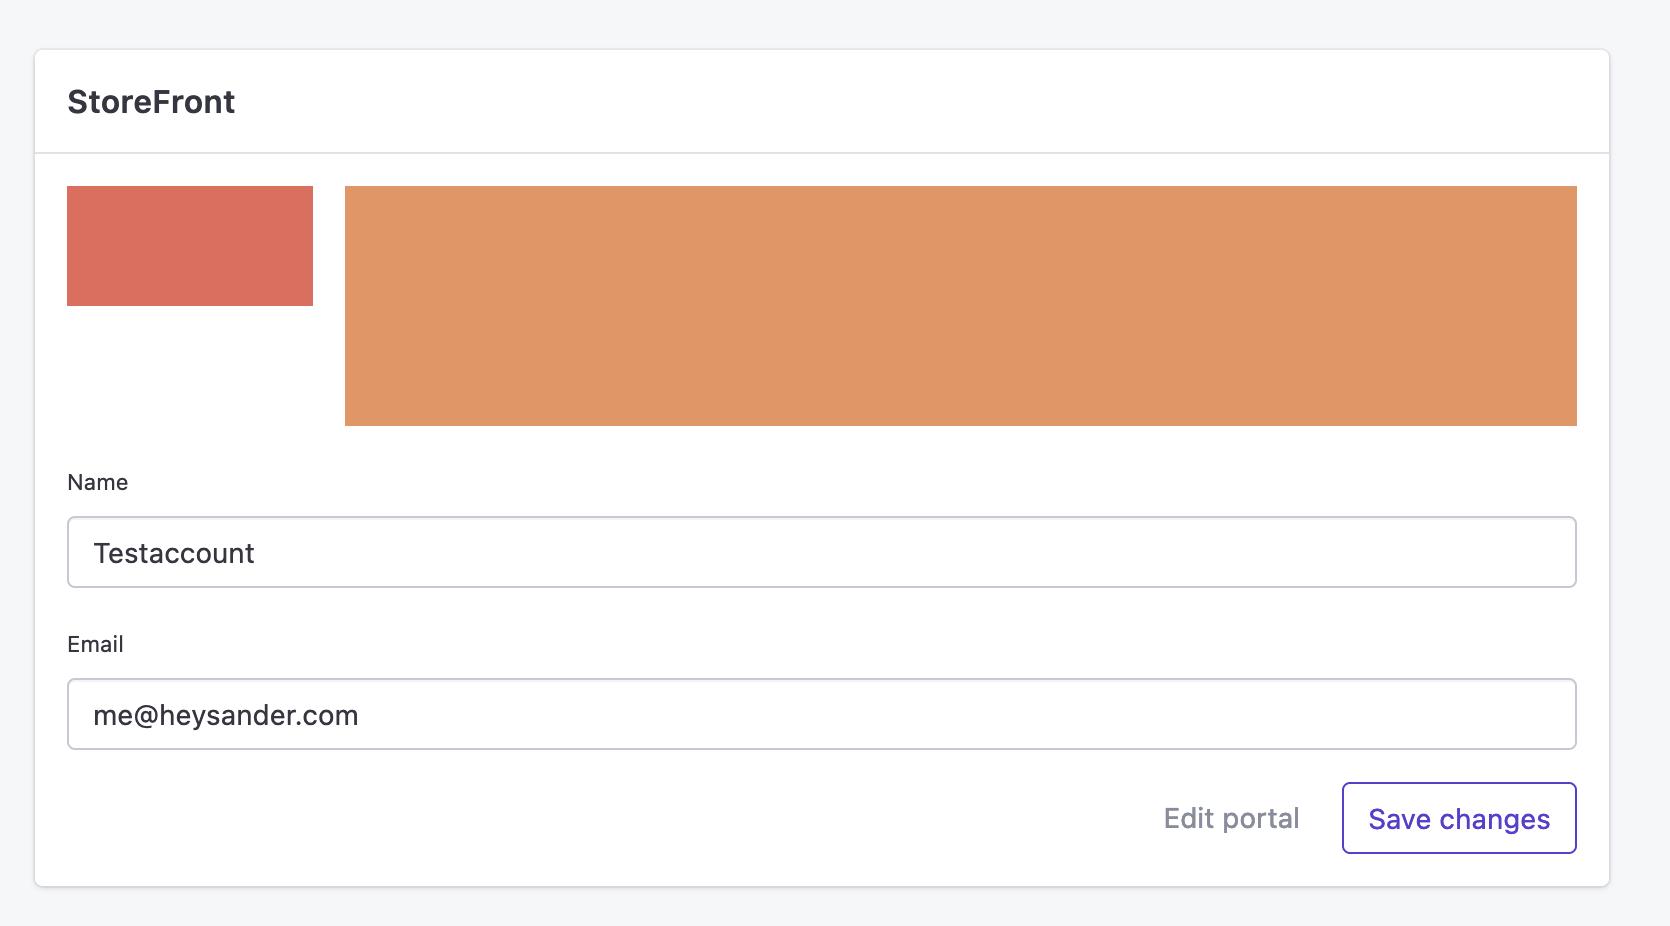
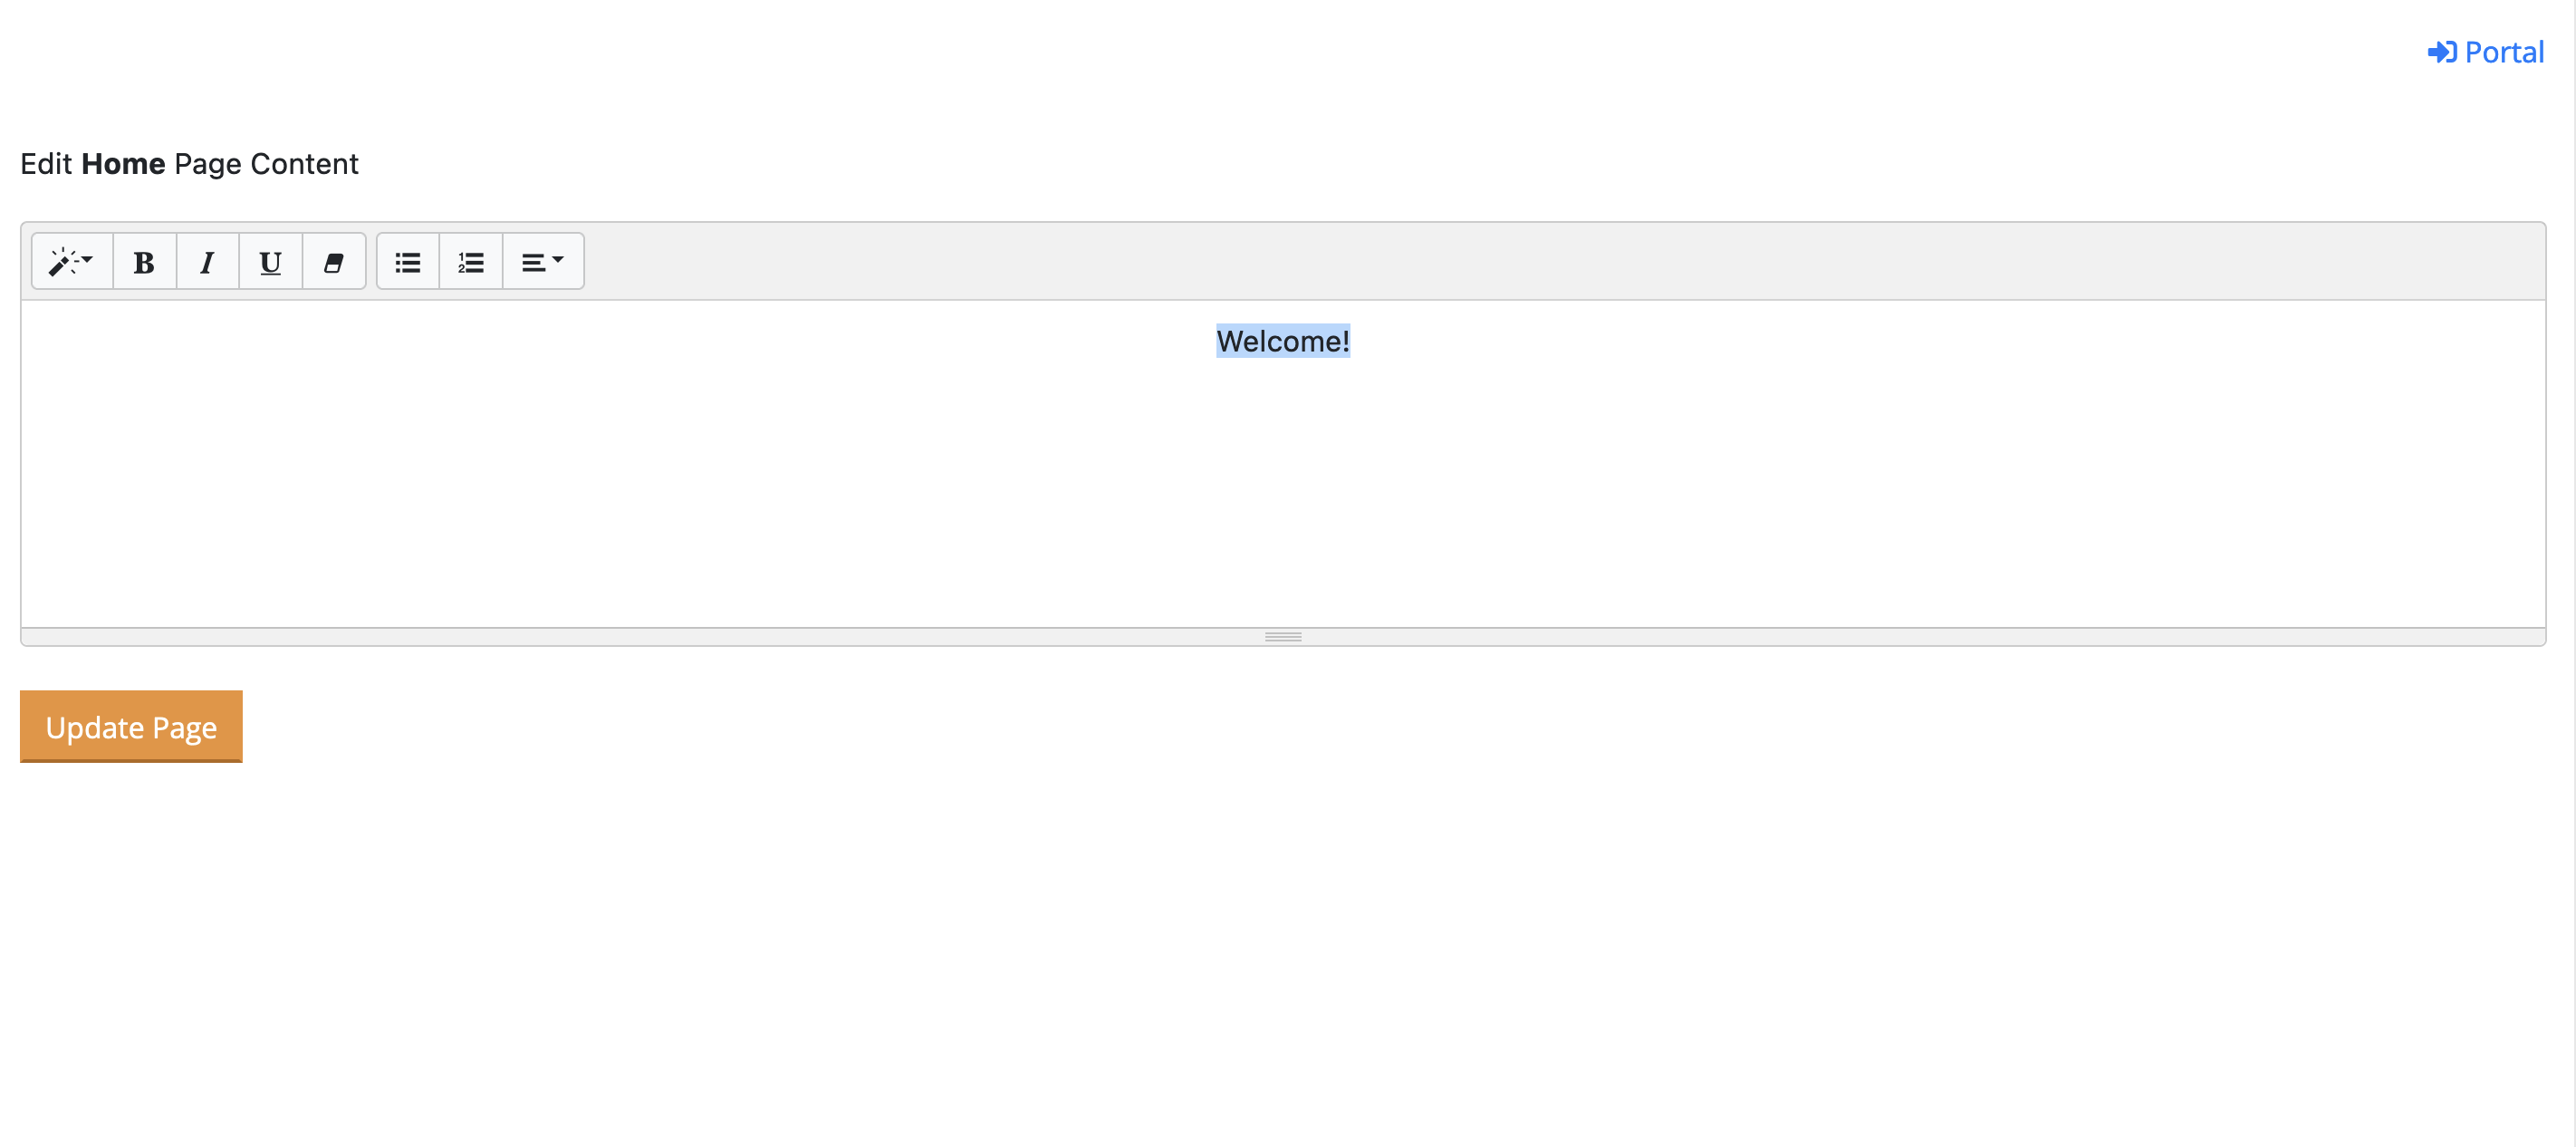
- On the left of the Save changes button you find Edit portal. If you click on this button, a new browser tab opens, on which you'll find a text editor where you can write and save your homepage content.
Create a test customer to enter your own portal
On the top right corner you'll find the Portal link. This button opens a new tab and leads to the login page of your B2B portal. To enter this portal, you have to create a customer first. Below we explain how that's done.
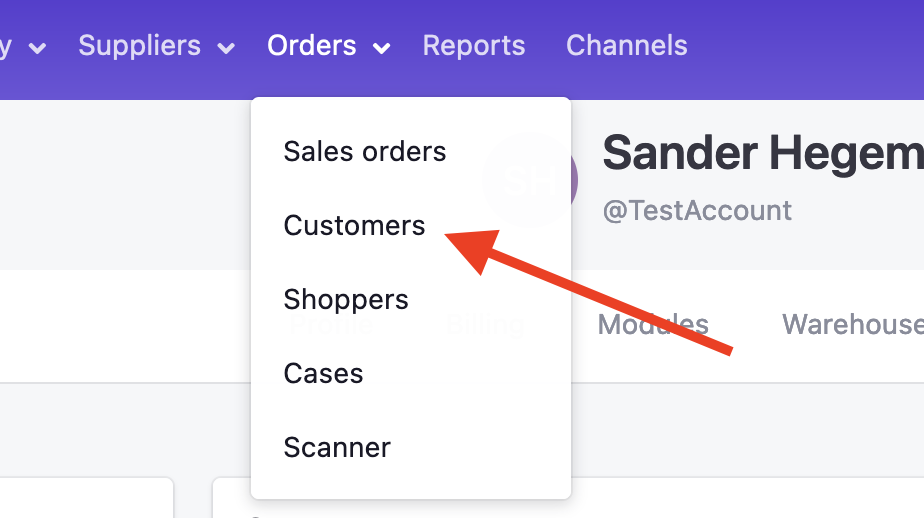
- Go back to your Stockpilot dashboard and in the top menu navigate to Orders > Customers
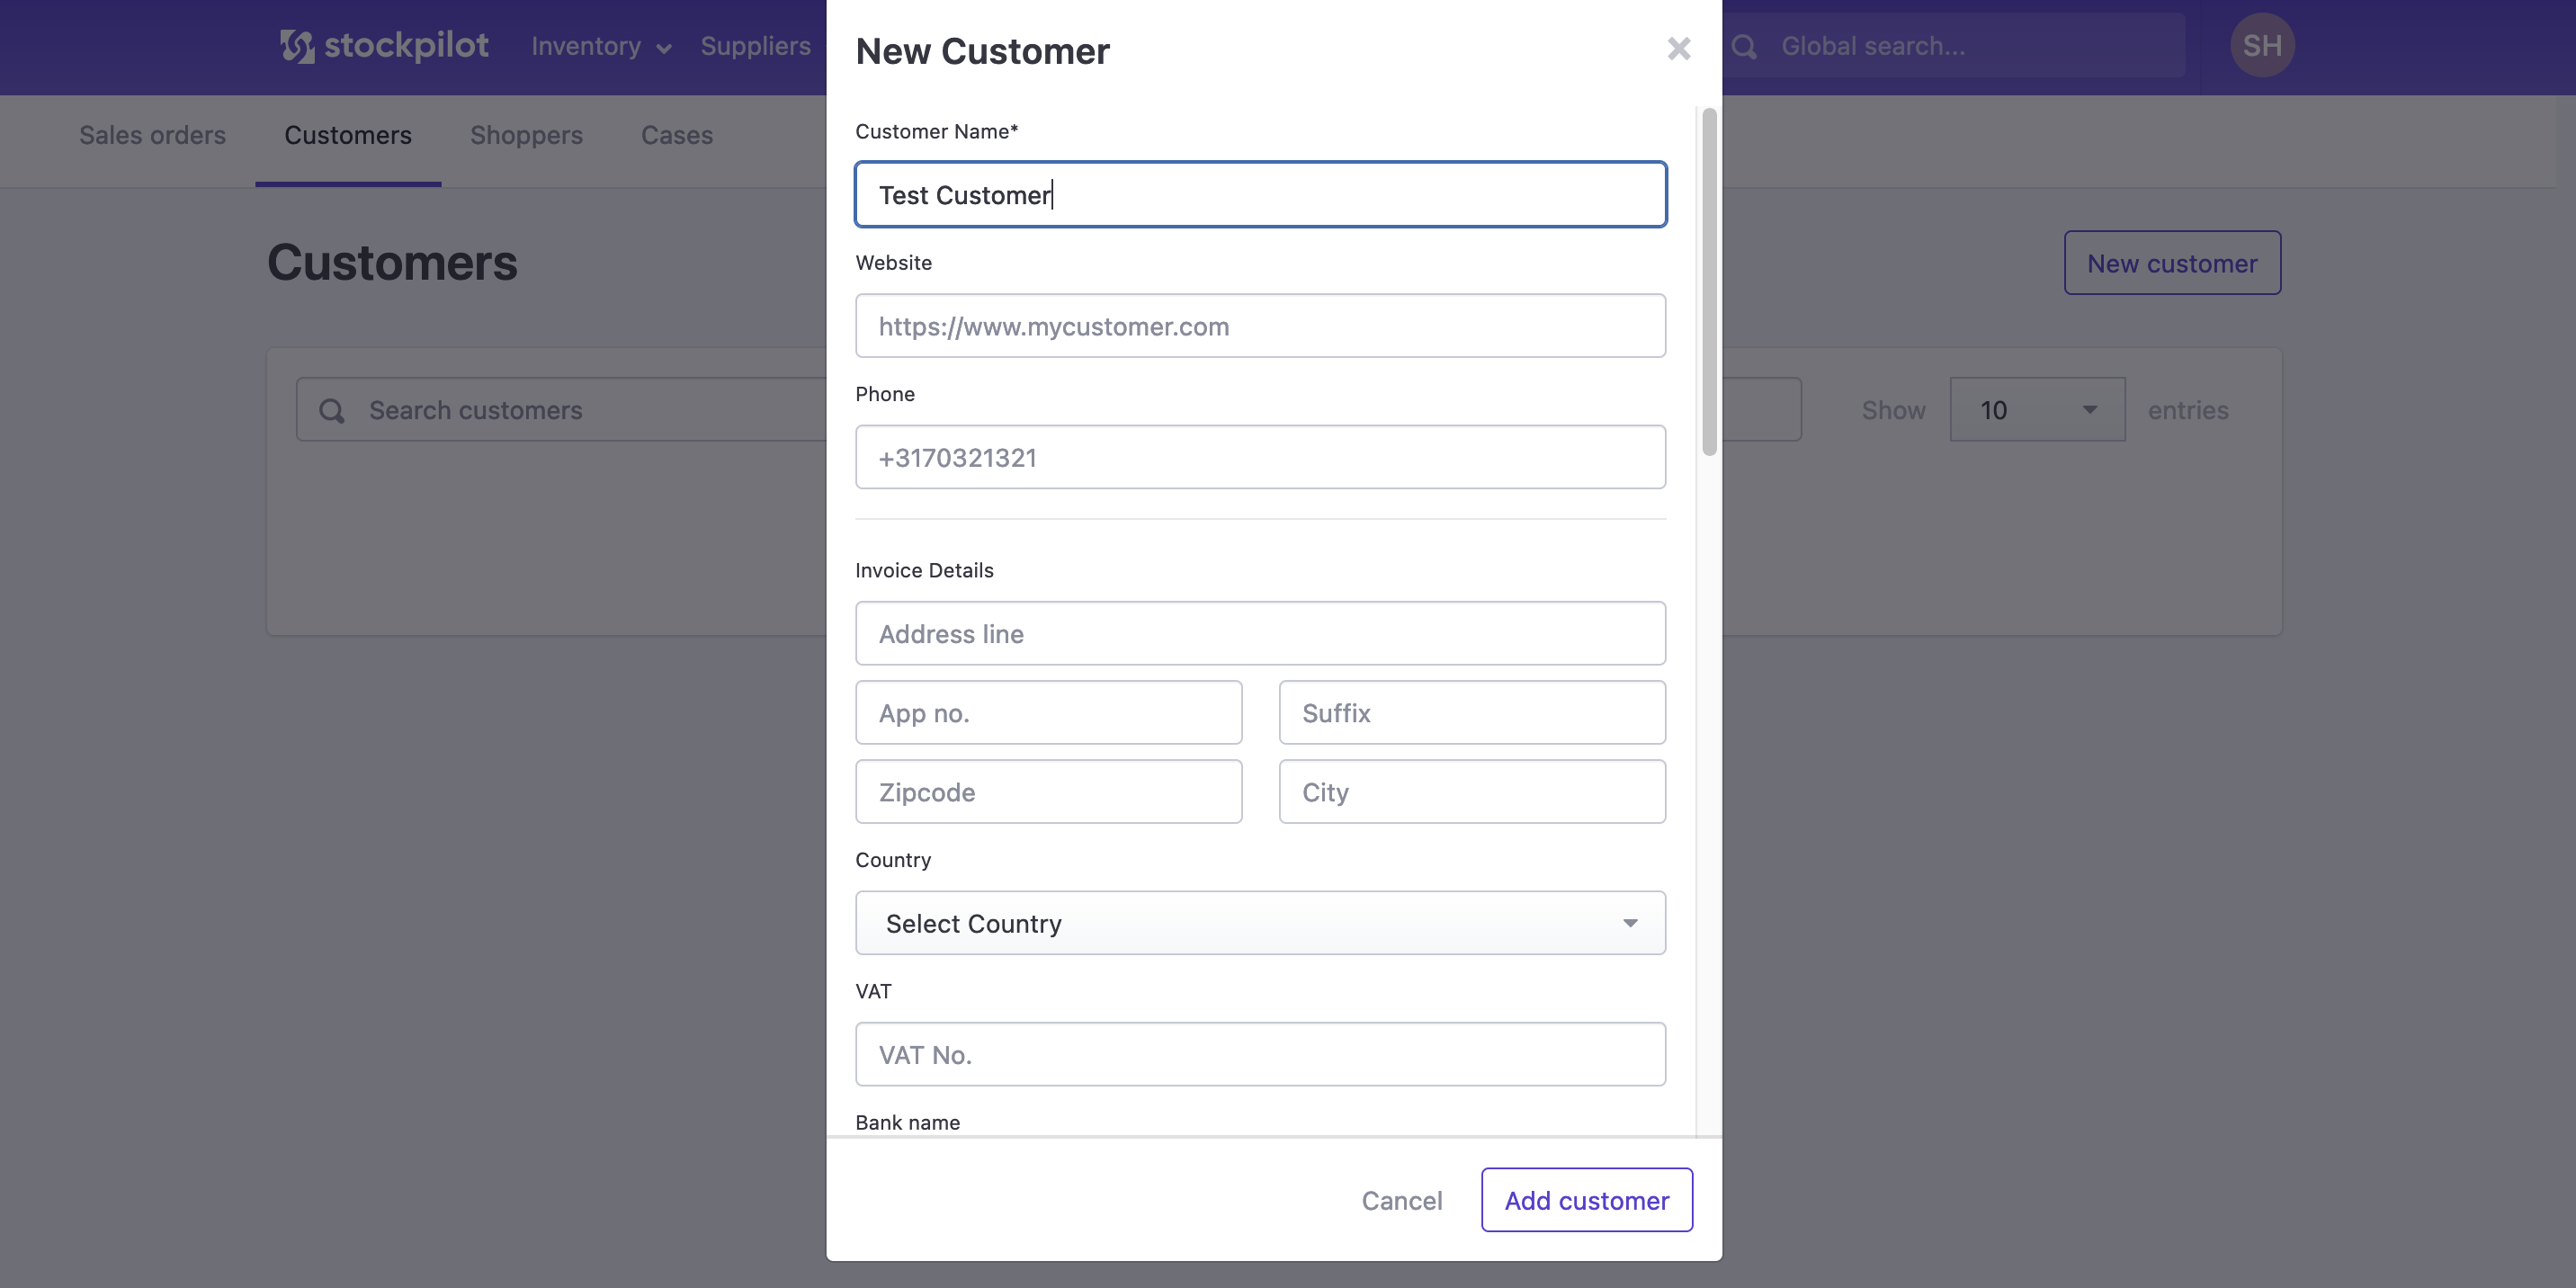
- On the right you'll find the button New customer which open popup where you can fill out all the details to create a Customer. For B2B portal test purposes we create a customer with the name Test Customer. Fill out all required fields and hit Save customer
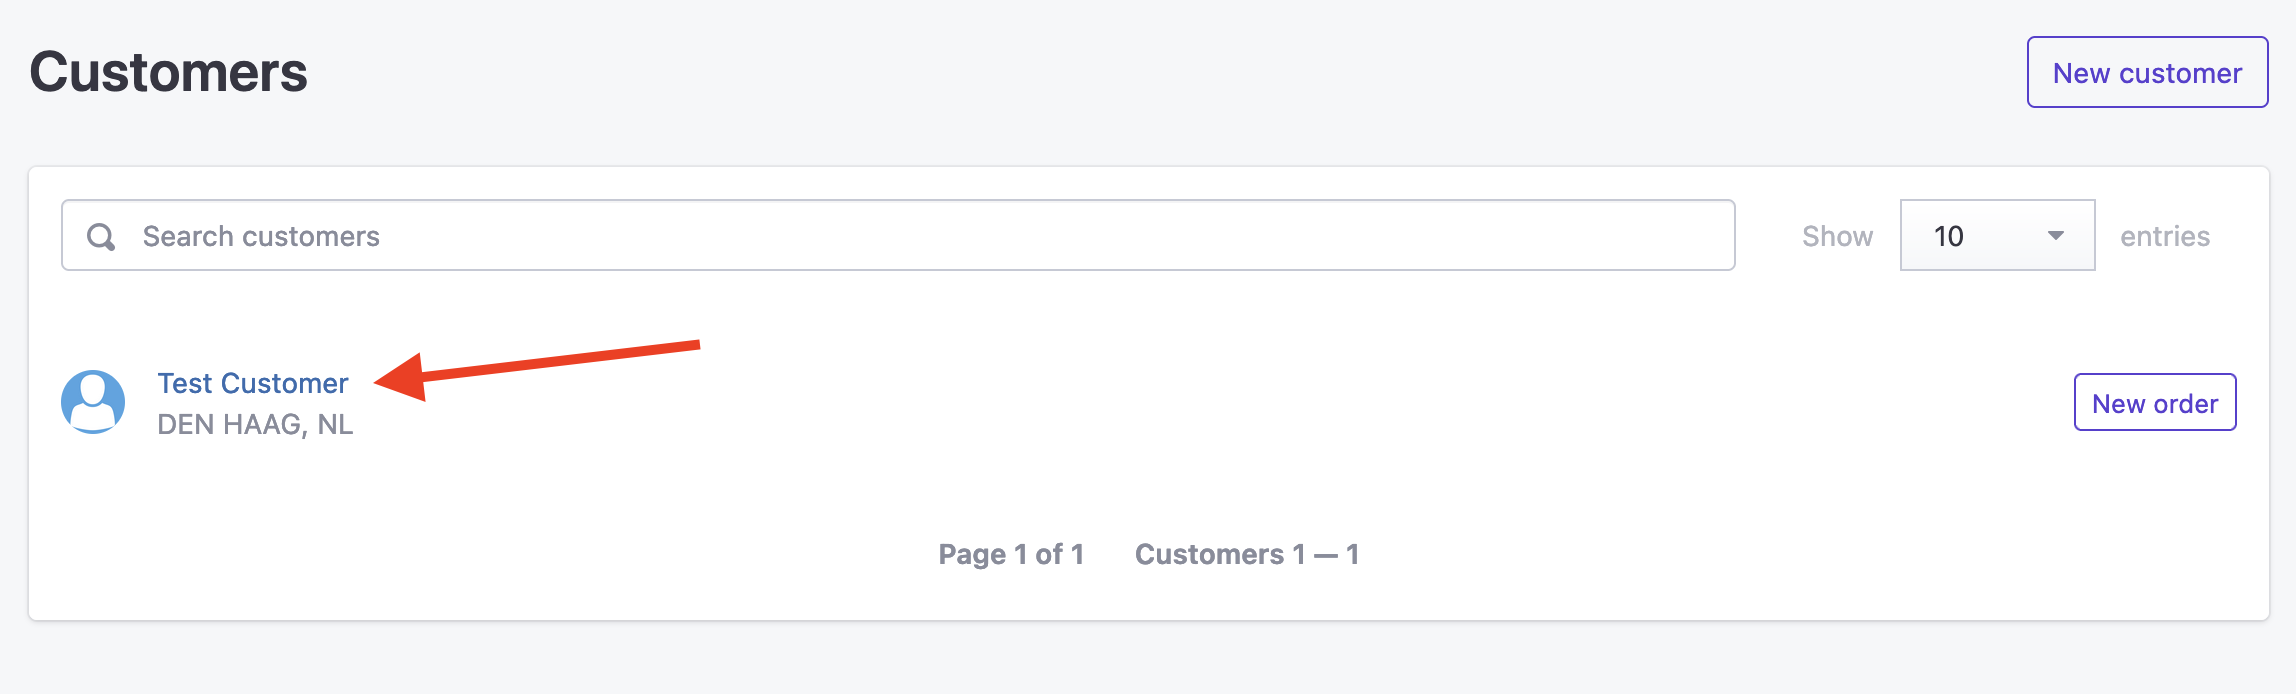
- Once the customer is created, click on the customer name to enter the customer detail page
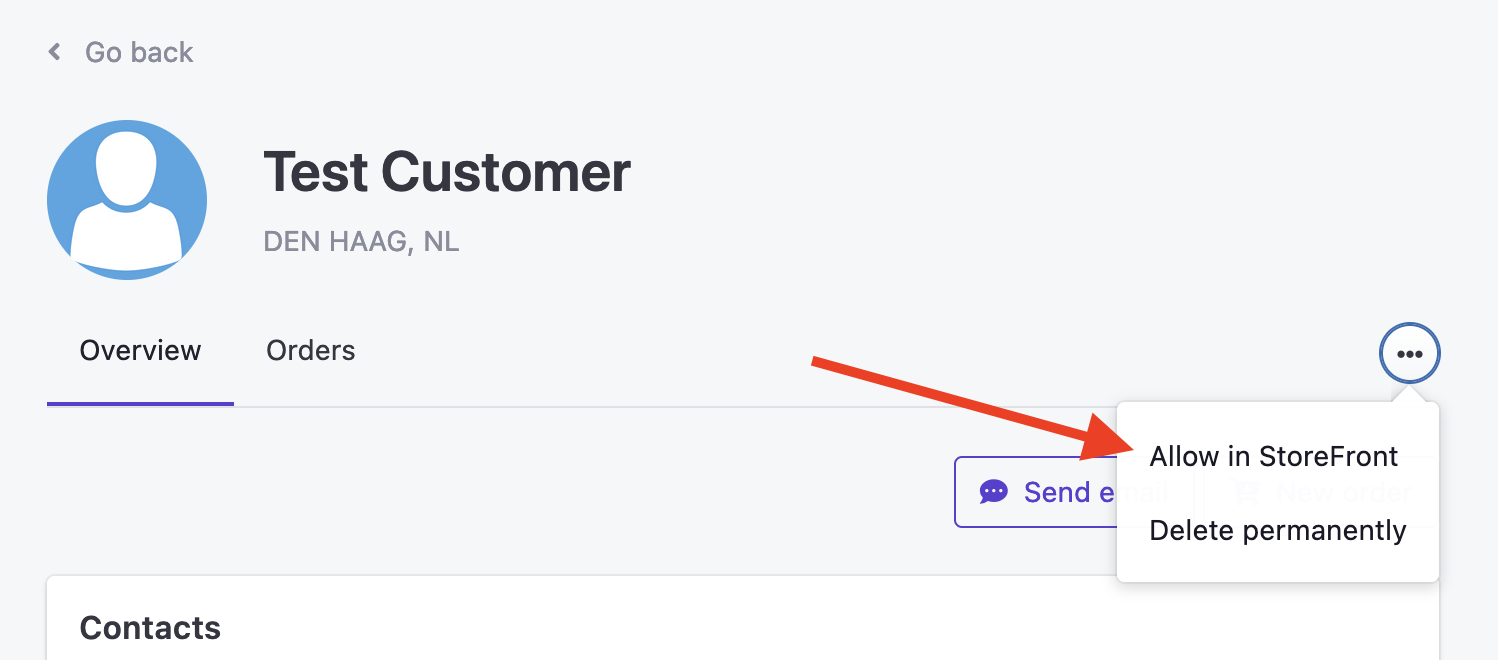
- Next click on the three dotted button and in the dropdown click Allow in B2B Portal
- This show a popup in which you create credentials for this customer to your B2B portal. Enter test credentials and fill out an e-mail address that's yours. Keep in mind that you cannot use the e-mail address that you are registered with!
- Once you created a user, you will find an invitation link in your e-mail inbox and you can follow the process from here to enter your B2B portal.
Add products to your portal
- Navigate to Inventory > Products and select a product you want to offer in your B2B portal. Once your selected the product, go to Actions on the right and click Allow in B2B Portal in the dropdown menu.
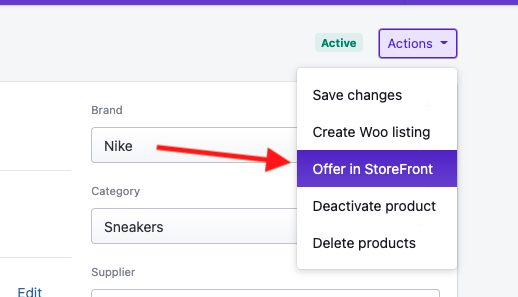
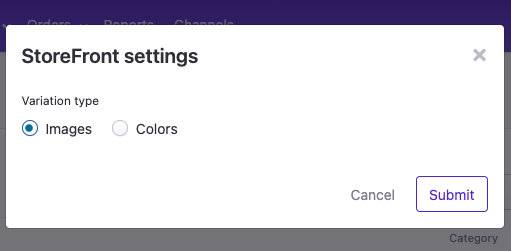
- A popup appears with the question if the product is an Image or Color variation.
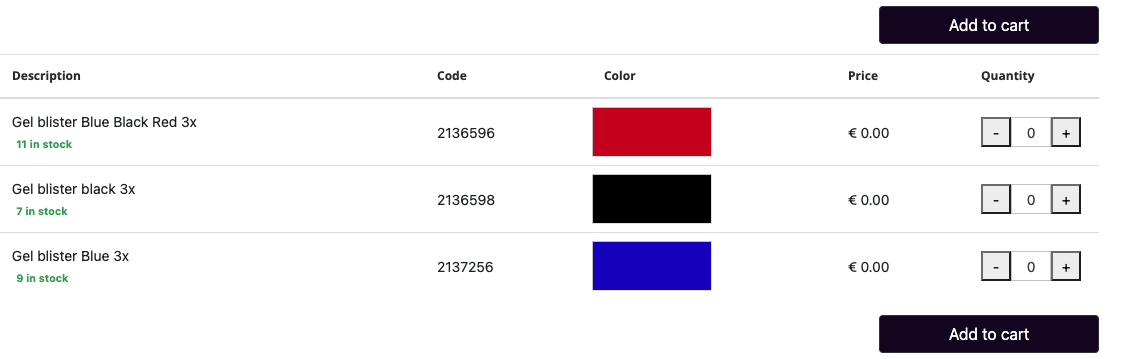
Color variations appear like this (note that you have to give each variant a color):
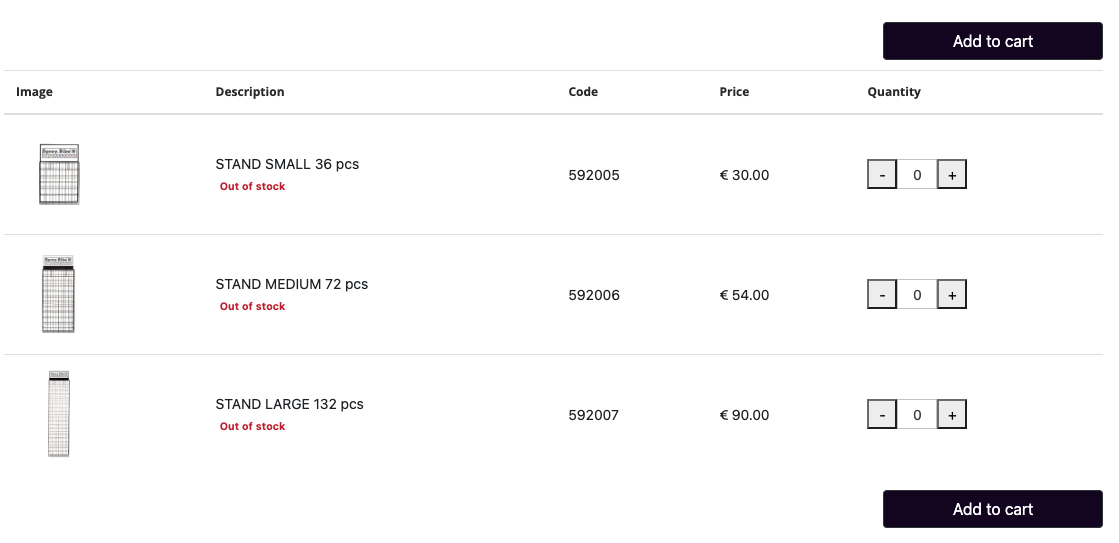
And image variations appear like this (note that you have to give each variant an image):
- Once you hit the Submit button in the Allow to B2B Portal popup. To see your products in the portal, you can navigate to your B2B portal in a private window and login with the test customer credentials we created a few steps back.
- Wholesale price
When a product is allowed in the B2B portal you will see that the variants related to this product have an extra price field named Wholesale.
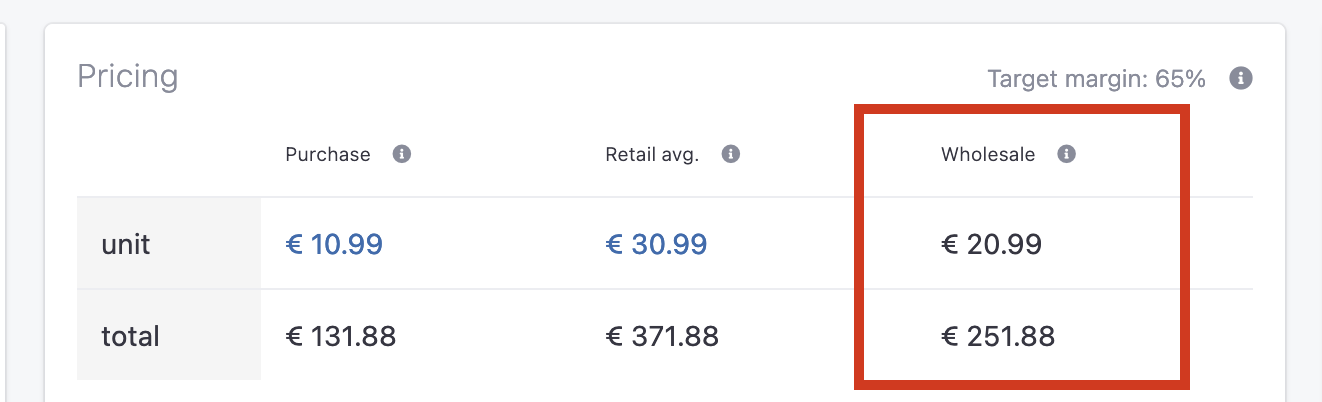
You can change the Wholesale price by clicking Edit variant in the Actions dropdown menu.
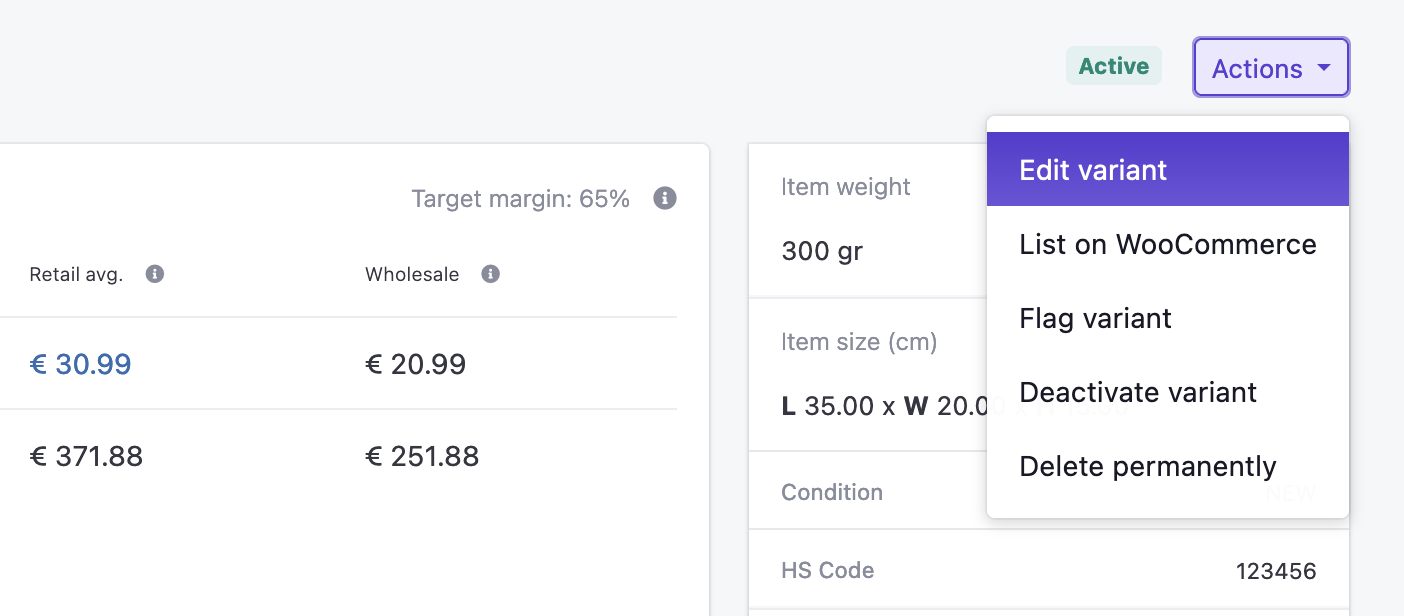
It might happen that you want to work with different prices for different customers. This is possible. The Wholesale price will be your default price and you can create pricing templates that you can assign to customers. To learn more about price templates you can read this article in our knowledge base.
- Give brand a logo
On the B2B portal homepage you will see an overview of all brand names with logo if uploaded. To upload the brand logo, navigate to Inventory > Brands from the top menu bar. Next you can click the brand name and on the brand detail page you will see an image select field next to the brand name.
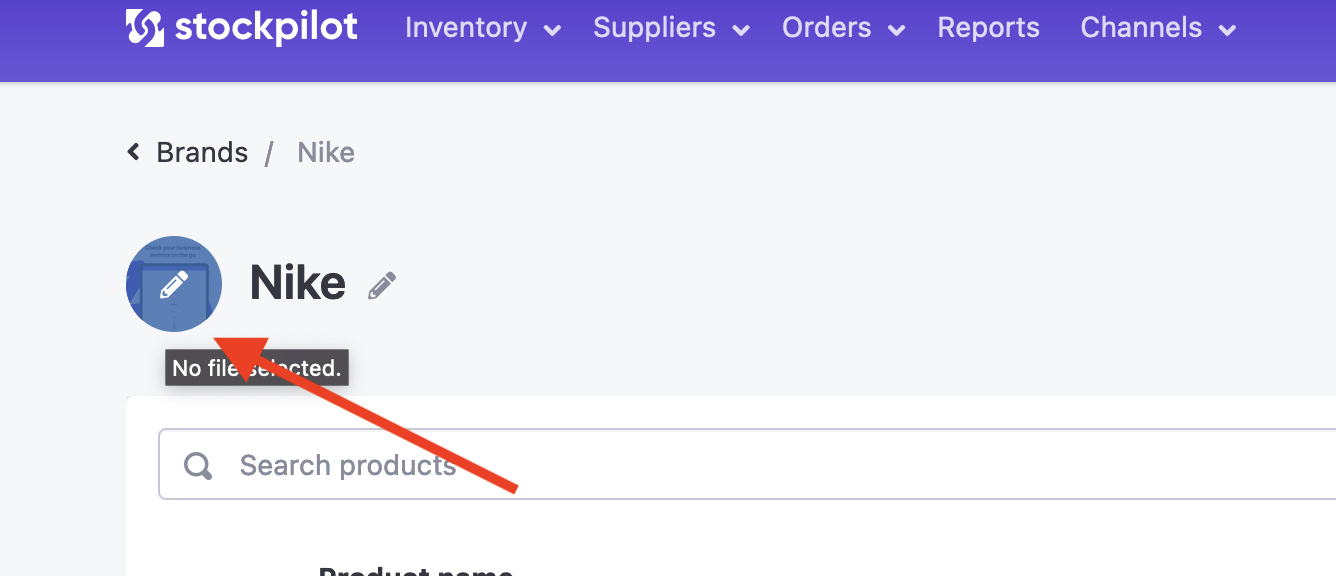
If you click on the pencil, you can select your brand logo. Once the image is uploaded you'll see the brand logo shown above the brand name in your B2B portal.

We hope this article has provided you with a clearer understanding of the basics for using Stockpilot's B2B portal. If you require further assistance, don't hesitate to reach out to us through chat, email, or phone. We're always here to help!