Pricelist per B2B customer
If you're selling your products to several B2B customers, it's likely that you have unique pricing arrangements with each customer. Fortunately, the Stockpilot B2B portal allows you to generate pricing templates that can be assigned to your B2B clients with ease.
In this article, we will demonstrate how to create and assign these pricing templates.
To begin, let's go to the top menu bar and select the Channels option. Next, scroll down until you find your B2B channel, and click on the Manage button located on the right-hand side of the channel.

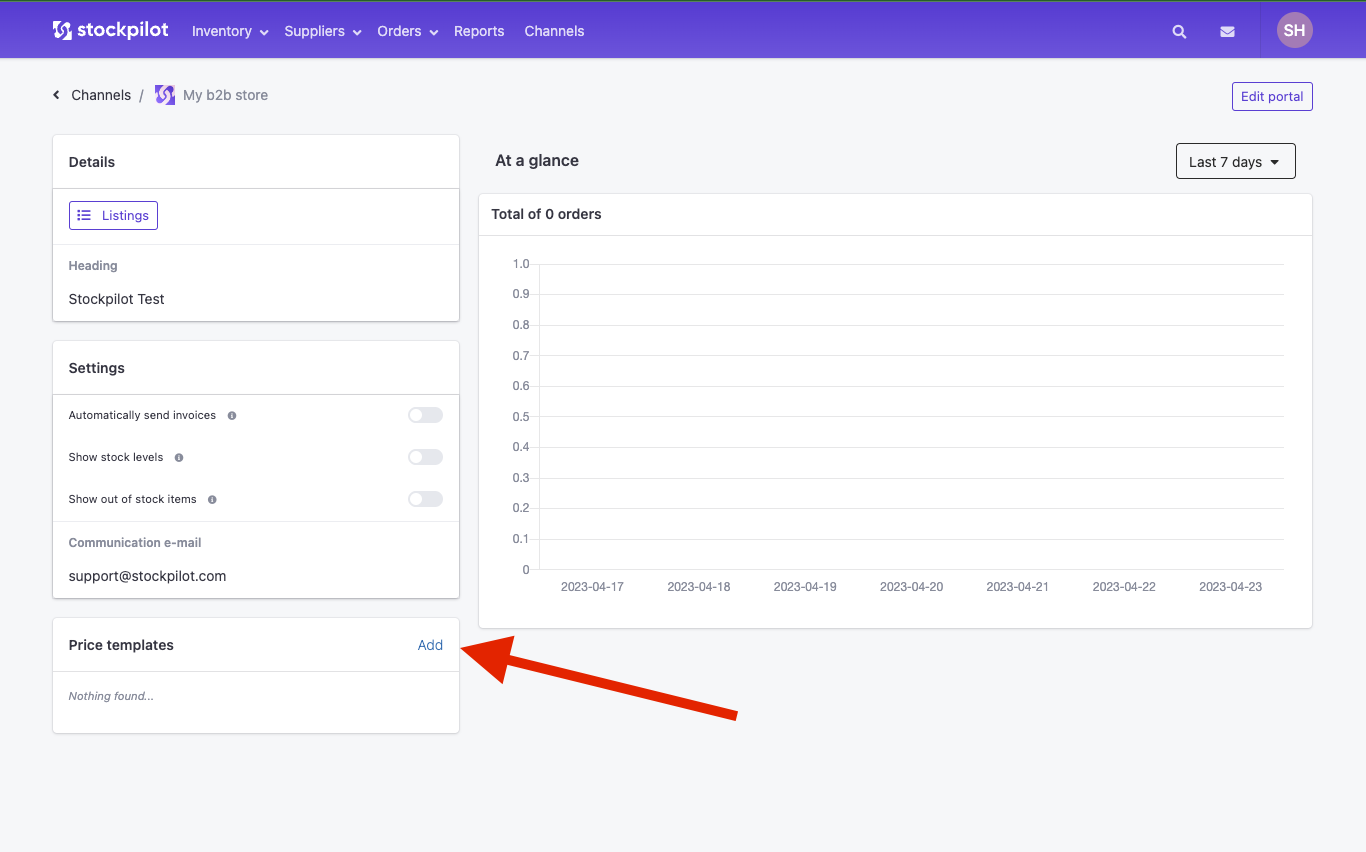
After accessing the B2B channel management page, locate the Price Templates section. Then, click on the Add button on the right-hand side of the title.
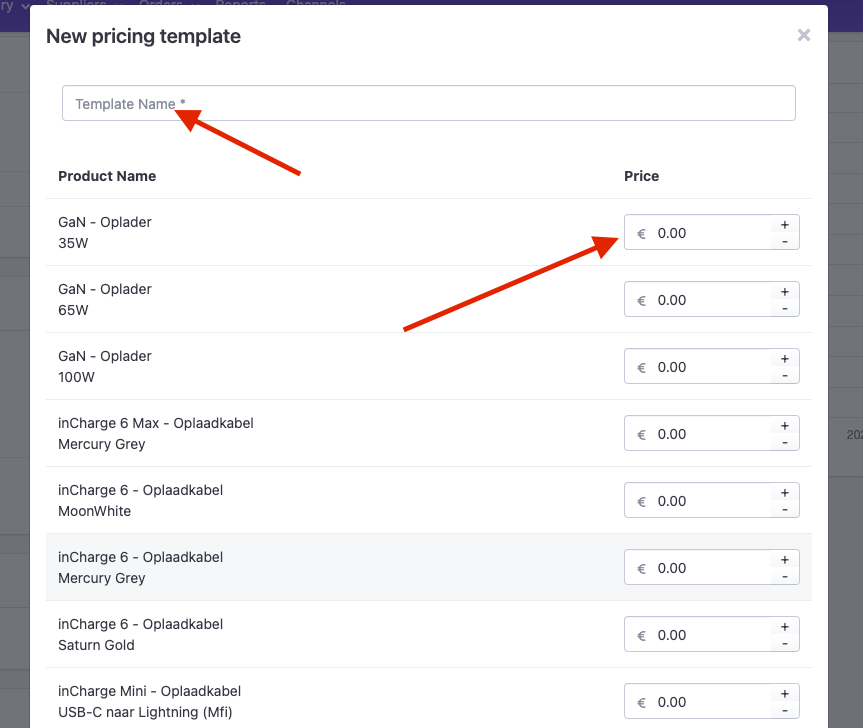
Once you click on the Add button, a popup will appear where you can provide a name for the new template and adjust the prices for each item. The popup will display 25 items per page, and you can use the pagination feature if you need to view more items.
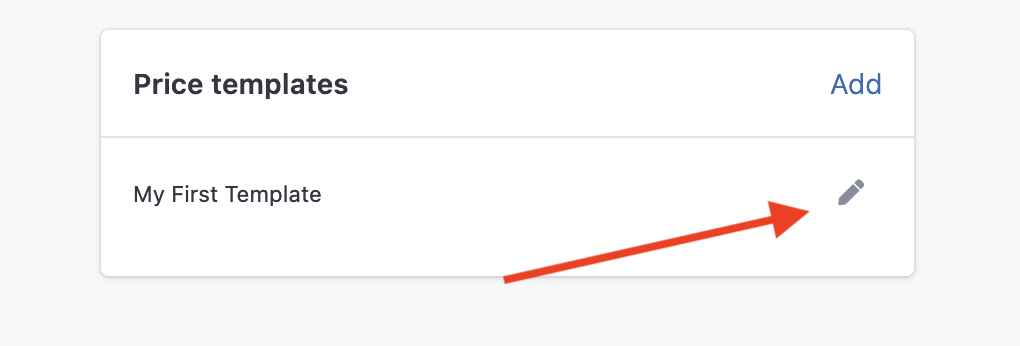
After you have filled in the necessary details for the new template, click on the Create button to add the template to the list. You can always modify the prices or name of the template later by clicking on the pencil icon next to it.
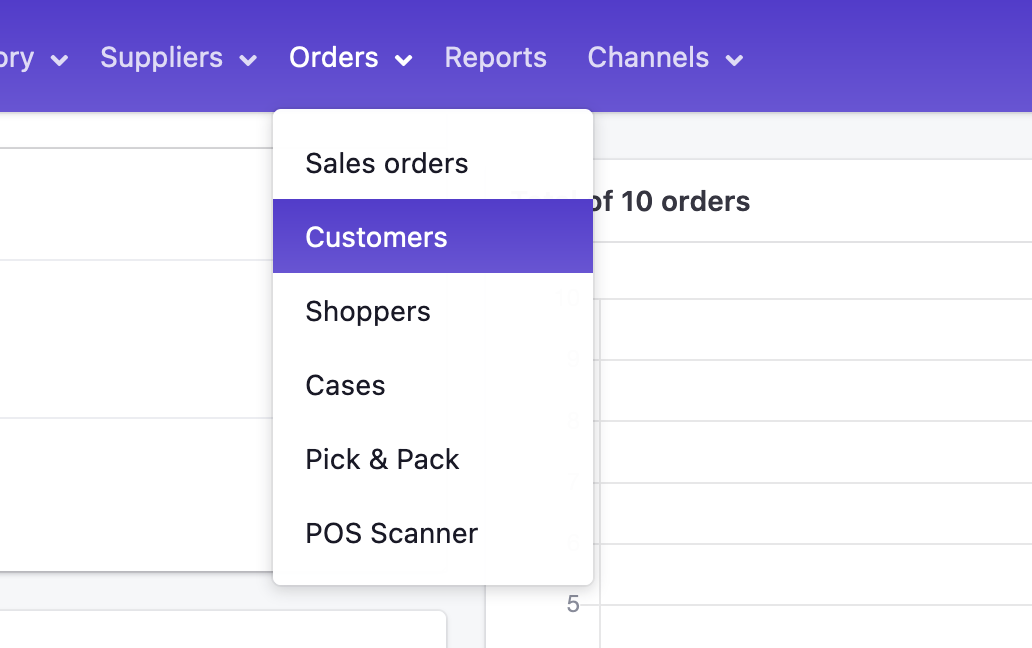
Now that we have created our pricing template, the next step is to assign it to a specific customer. To do this, go to the top menu bar and select Orders, then choose Customers from the dropdown menu.
After selecting the desired customer, click on their name to access their customer detail page. On this page, you'll see a button with three dots. Click on this button to reveal a dropdown menu. Depending on your settings, you'll either see an option to Allow in B2B Portal or B2B Portal Settings.
If you see the option to Allow in B2B Portal, you can click on it to grant the customer access to your B2B portal. For more detailed instructions on how to do this, you can refer to this article in our knowledge base, which provides step-by-step guidance on how to enable a customer's access to your B2B portal.
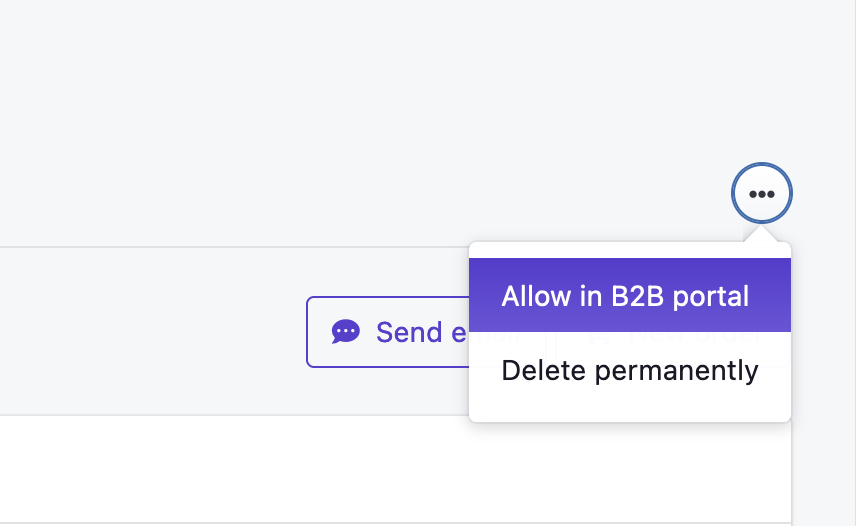
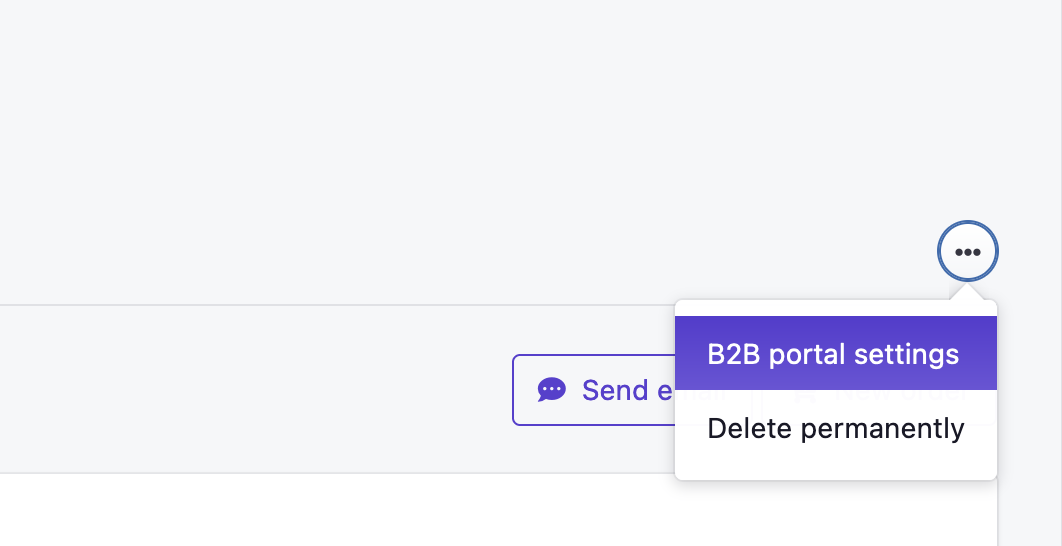
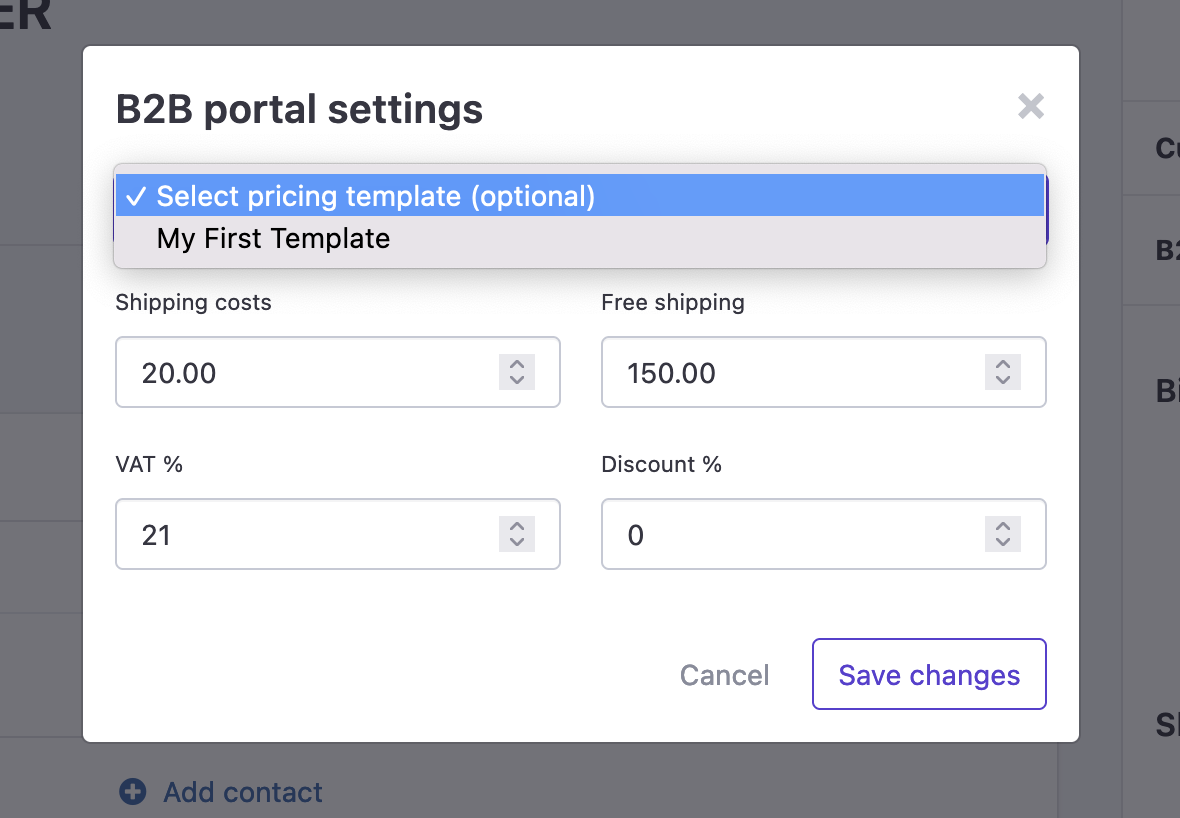
If you click on either of these options, a popup will appear. Within the popup, you will see a dropdown menu that allows you to select the pricing template that you want to assign to this particular customer. Choose the appropriate pricing template from the dropdown menu and save your changes. The selected pricing template will now be applied to this customer's account in your B2B portal.
Once you have selected the pricing template for the customer and saved your changes by clicking either the Create User or Save Changes button, you will see the assigned template displayed in the B2B Portal section on the customer's detail page. This indicates that the customer has been successfully assigned the selected pricing template and can now view the associated prices in your B2B portal.
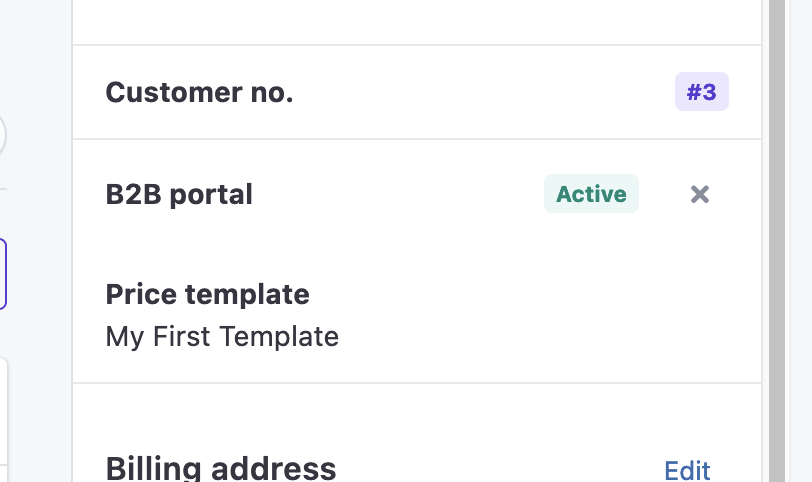
Congratulations, you have successfully assigned a pricing template to a specific customer in your B2B portal. Going forward, this customer will be able to view the prices associated with the selected template whenever they log into your B2B portal.
We hope this article has provided you with a clearer understanding of Stockpilot's pricing templates for the B2B portal. If you require further assistance, don't hesitate to reach out to us through chat, email, or phone. We're always here to help!

