Manage locations
 Updated
In Stockpilot, you have the ability to manage your inventory by assigning it to different locations within your warehouse. This feature allows you to keep track of where your stock is located within your warehouse, making it easier to quickly find and fulfill orders. In this article, we will discuss the different options available for managing and assigning locations in Stockpilot, including creating new locations, editing existing locations, and assigning inventory to specific locations. This will help you keep your inventory organized and easily accessible, making it easier to manage your warehouse operations.
Manage locations
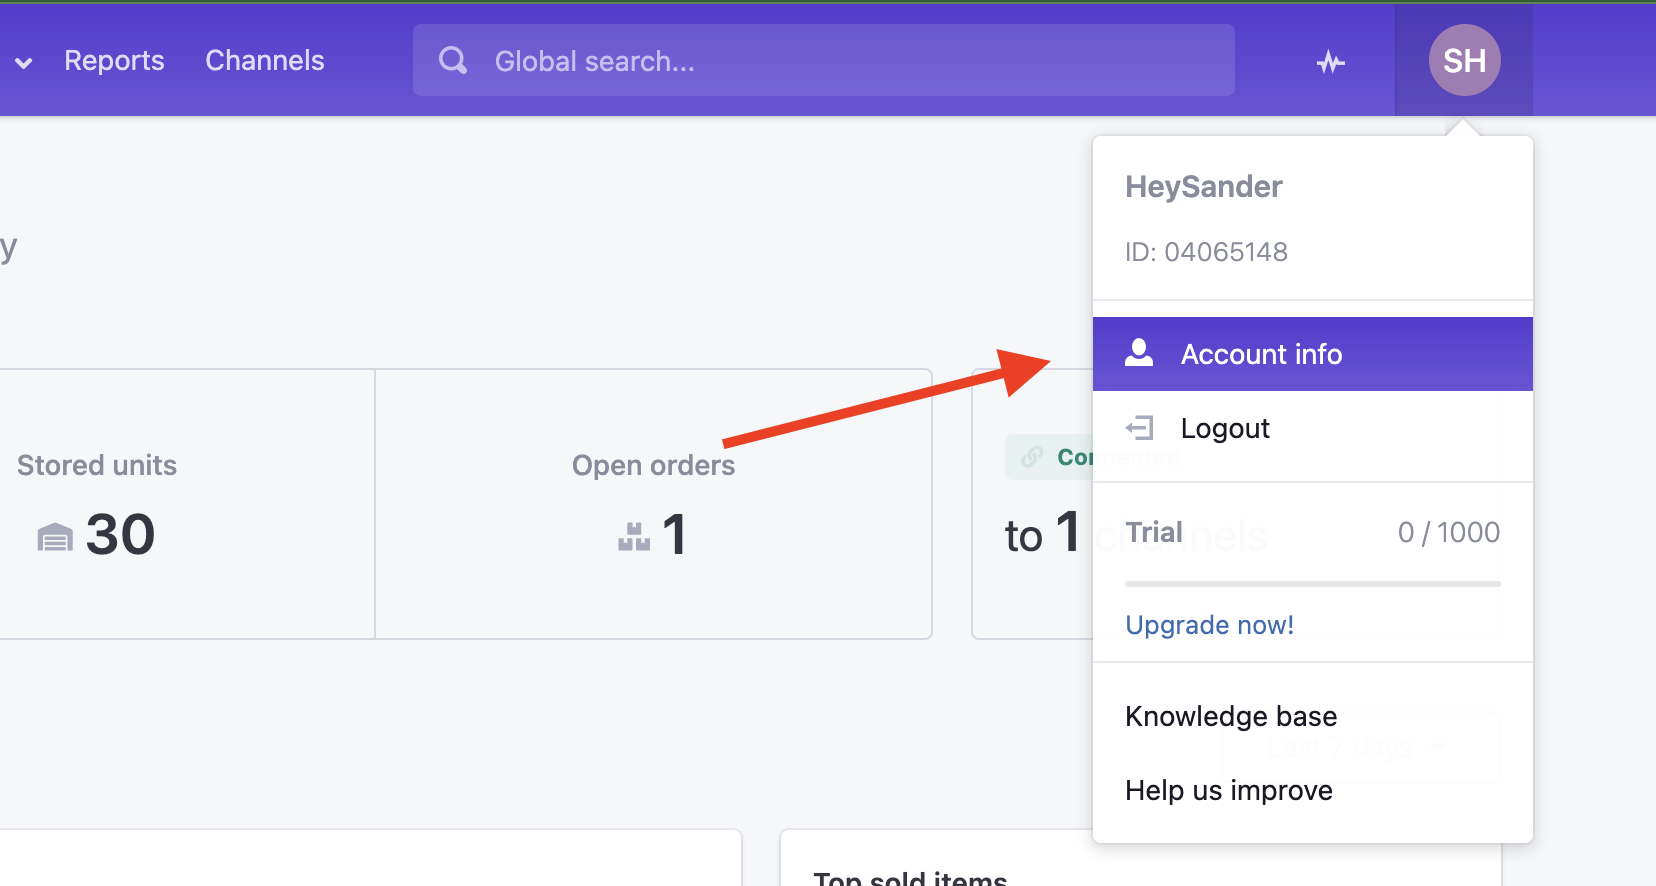
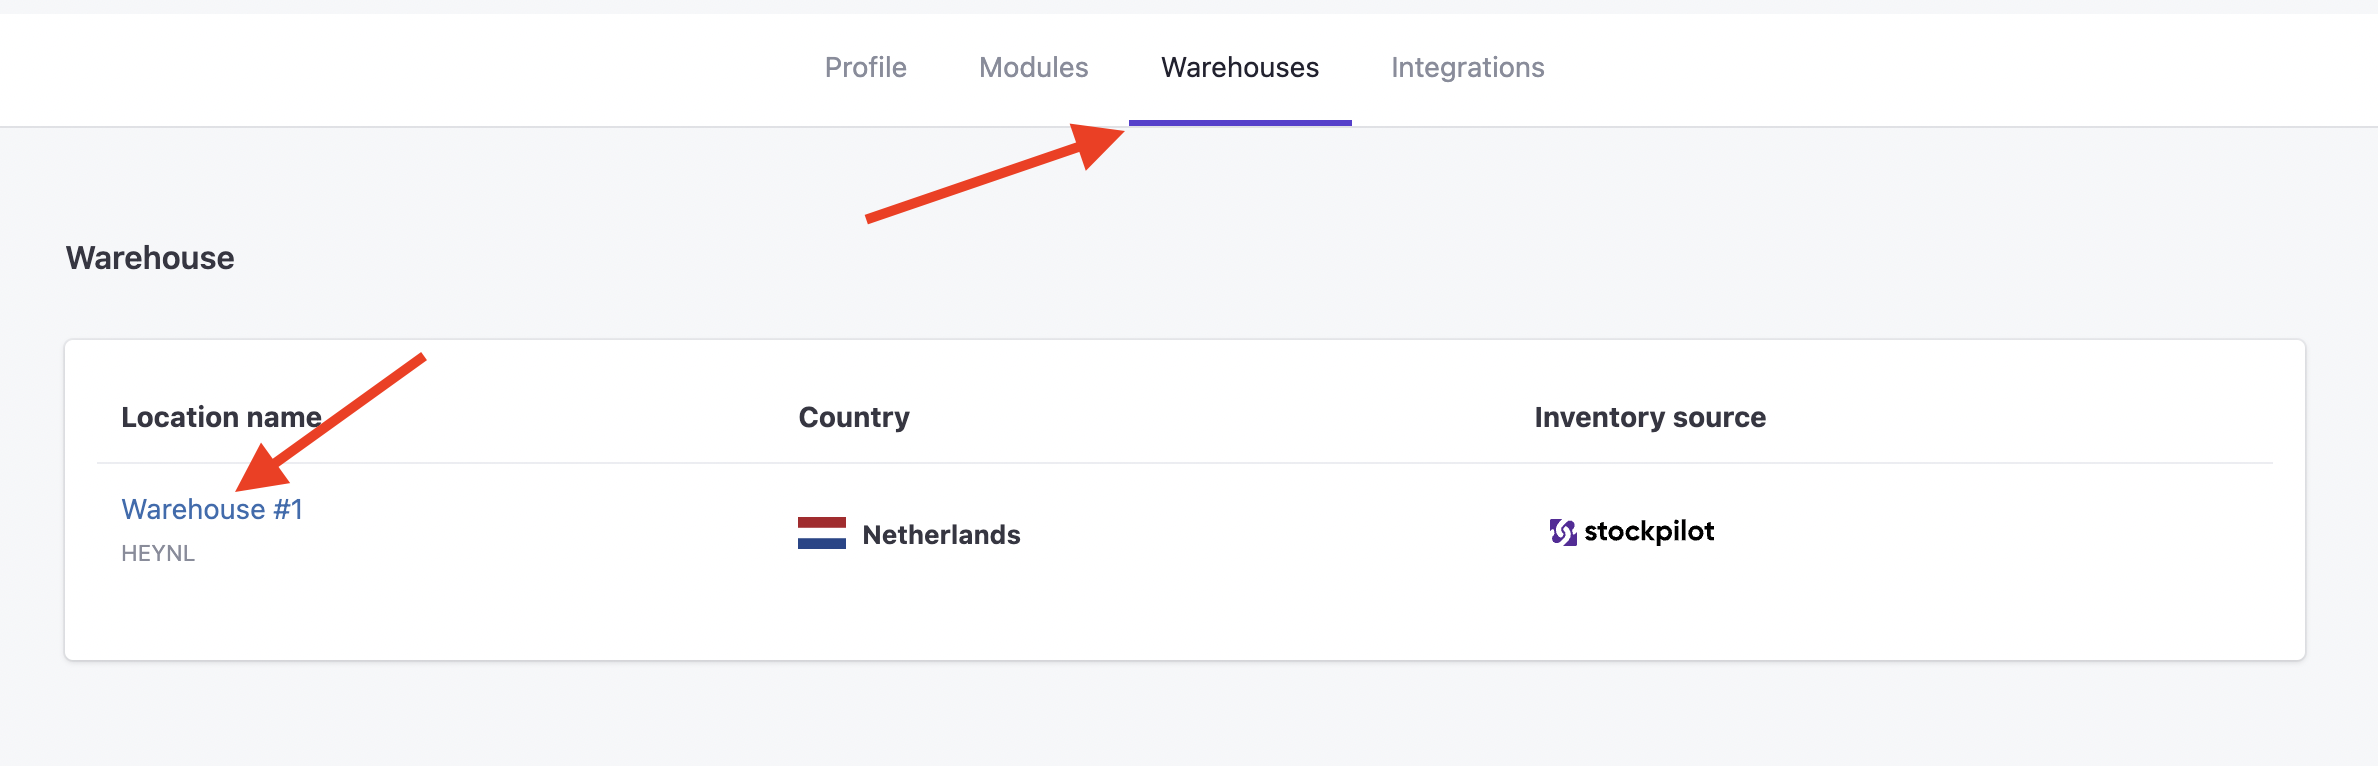
The first step is adding the locations to the Stockpilot warehouse. To do this, navigate to Account info Warehouse > Stockpilot warehouse
Once you're on the warehouse page, you will find a Locations section on the right.
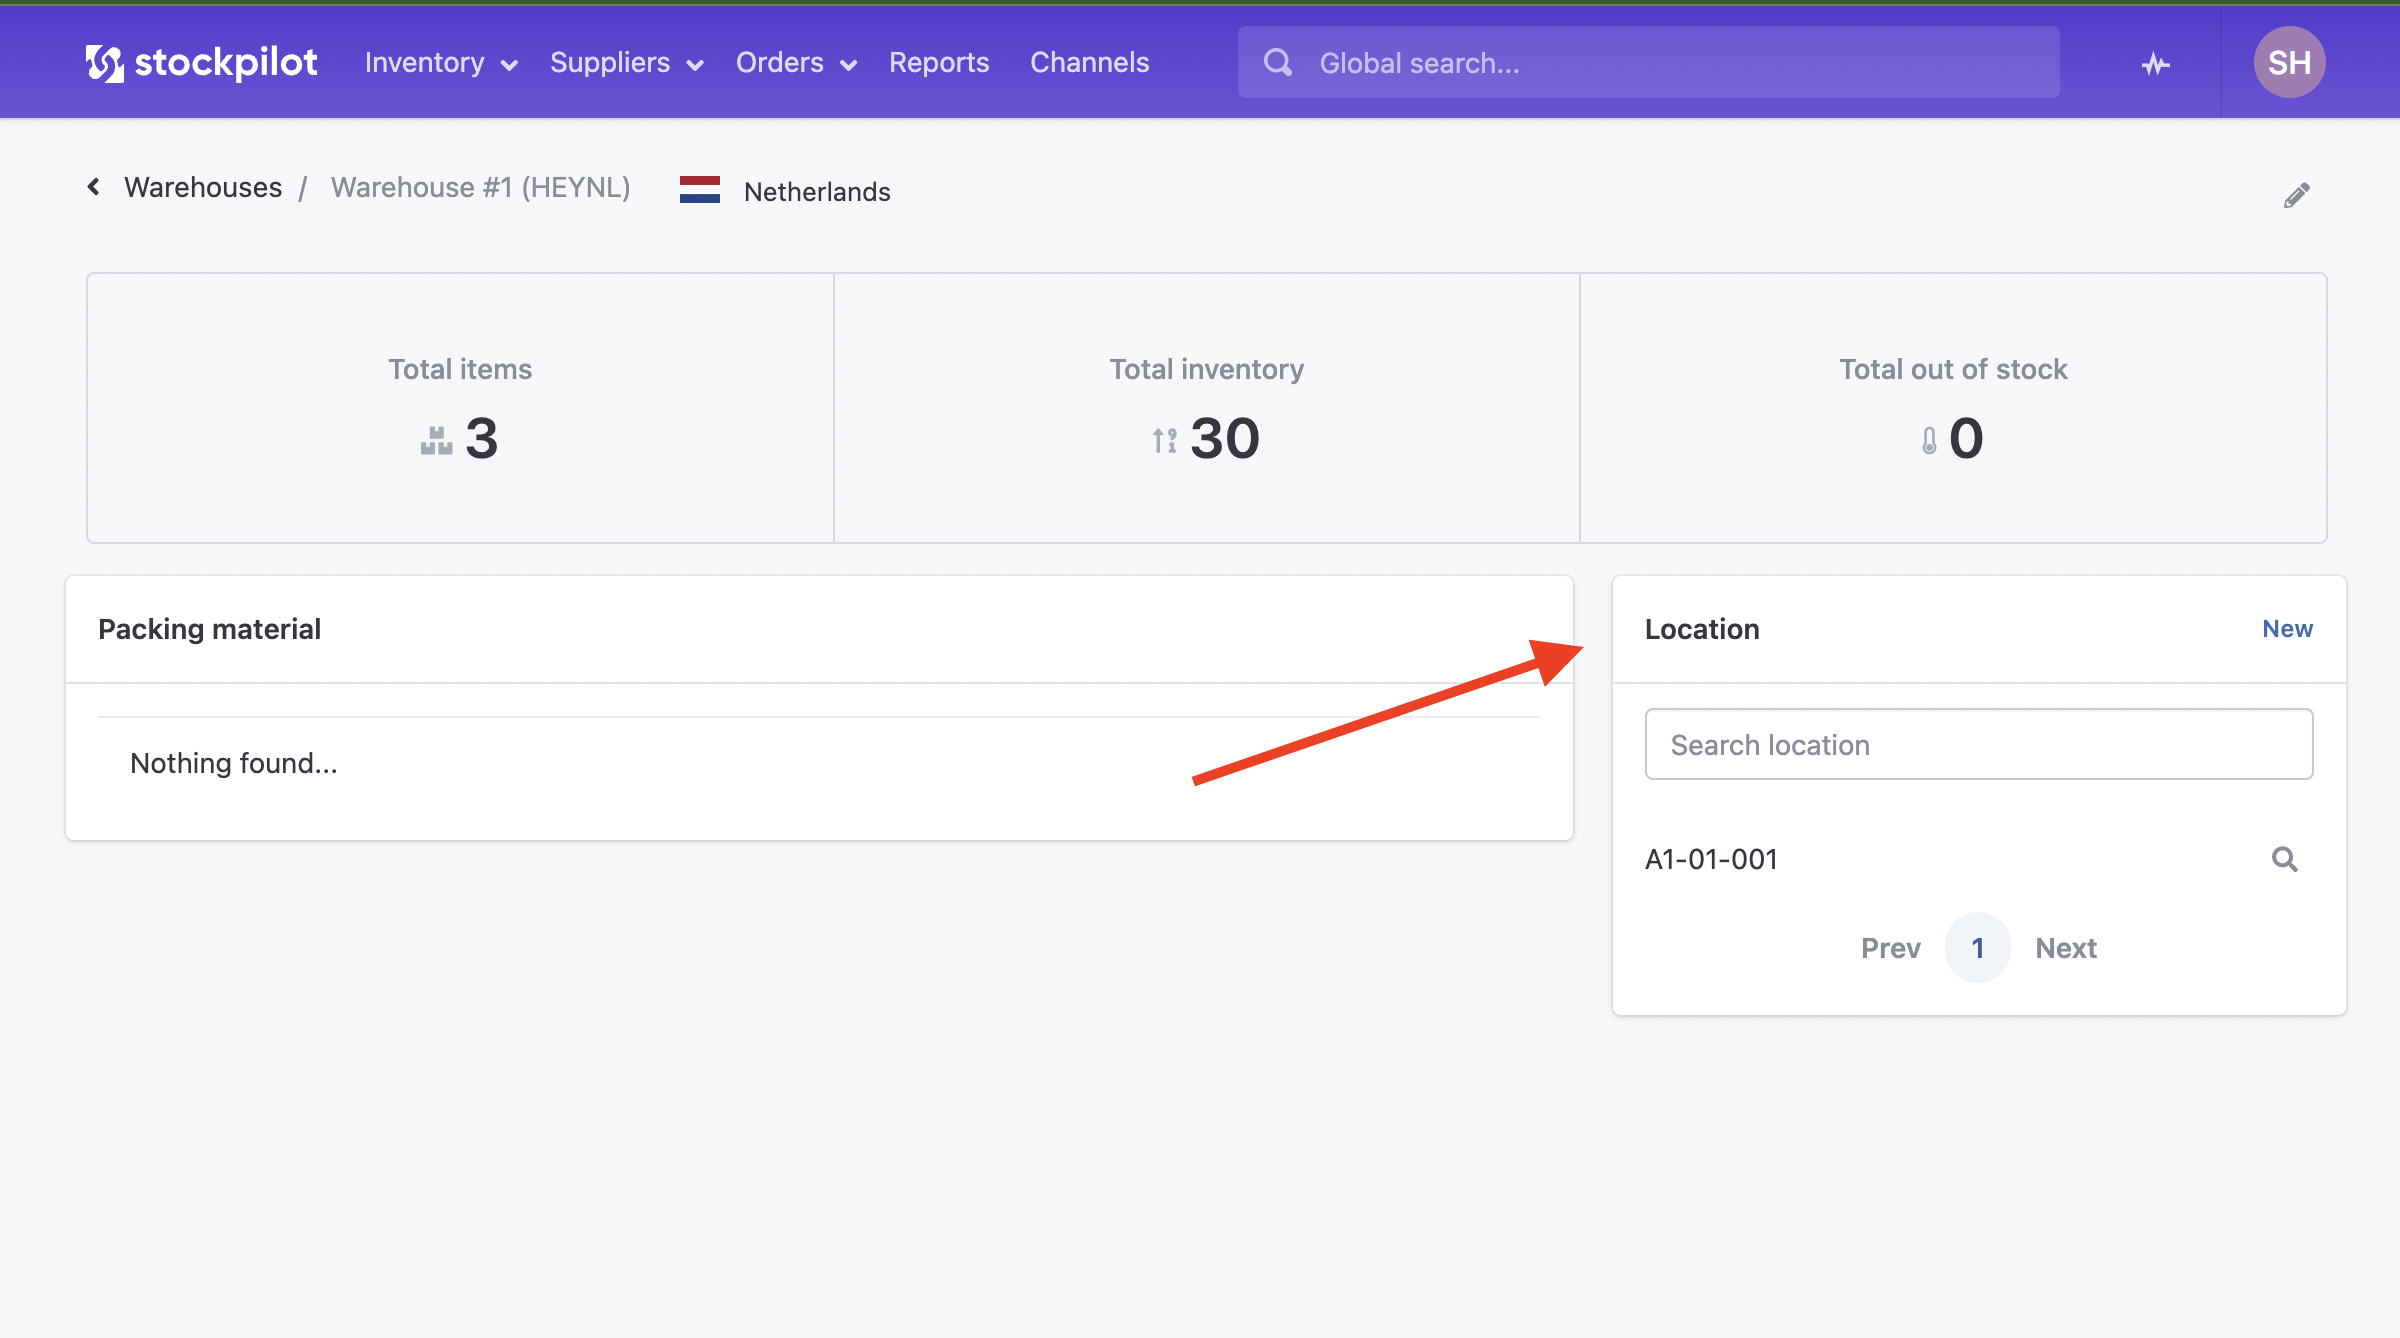
By default Stockpilot added one location named A1-01-001. When we click on the search icon on the right of this location name, a popup appears where we can update the name of the location, or delete the location, with the button on the bottom-left.
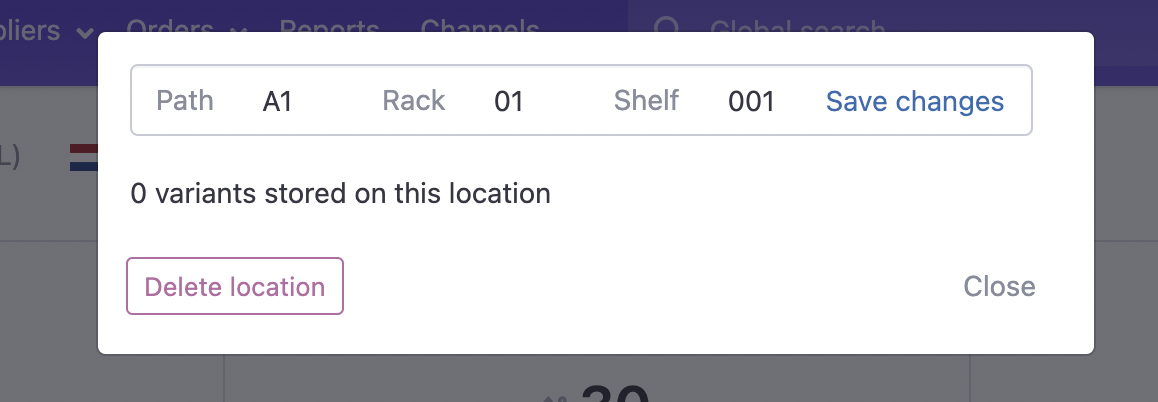
As you can see the name is divided in three sections. The first is Path, the second Rack and the third is Shelf. This location is in Section A, path 1 on rack 01 and shelf 001. If you change one of the three sections and click Save changes the fields will be updated.
To add a new location, click the New button on the right of the location title.
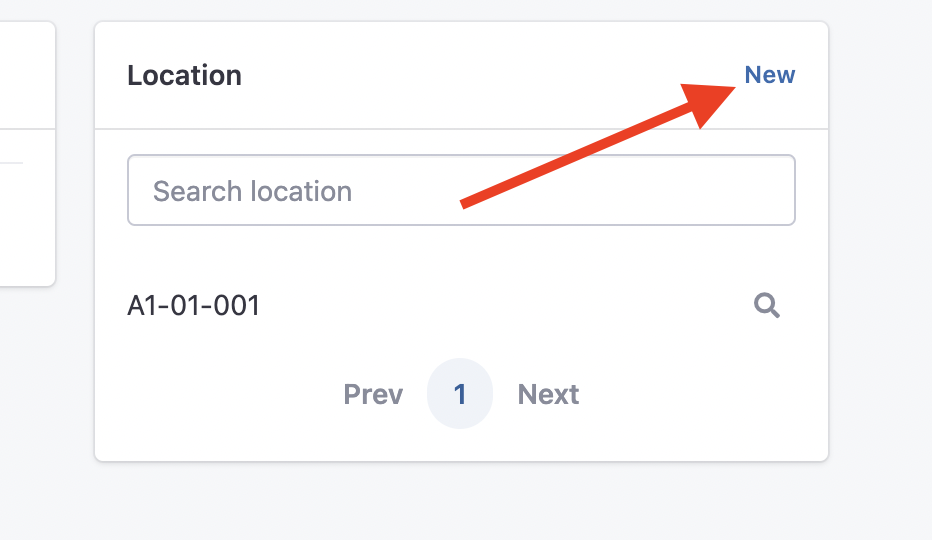
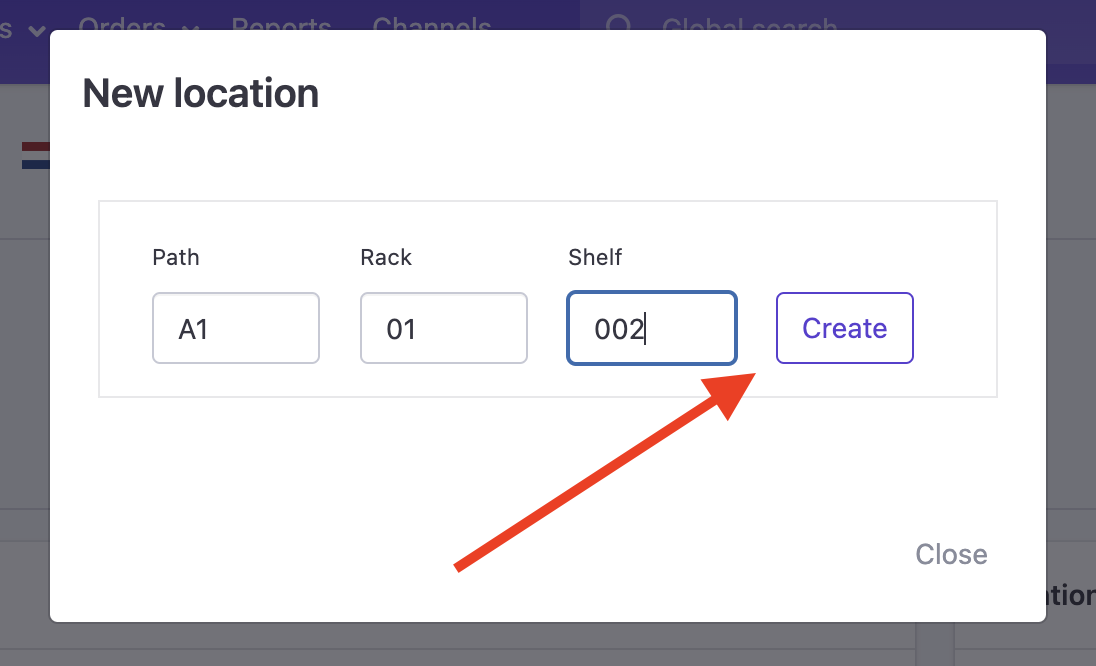
Add the name and click the Create button and you will see the location being added to the list.
Assign location to variant
To assign a location to your inventory, navigate to the specific variant and you'll see a Location section.
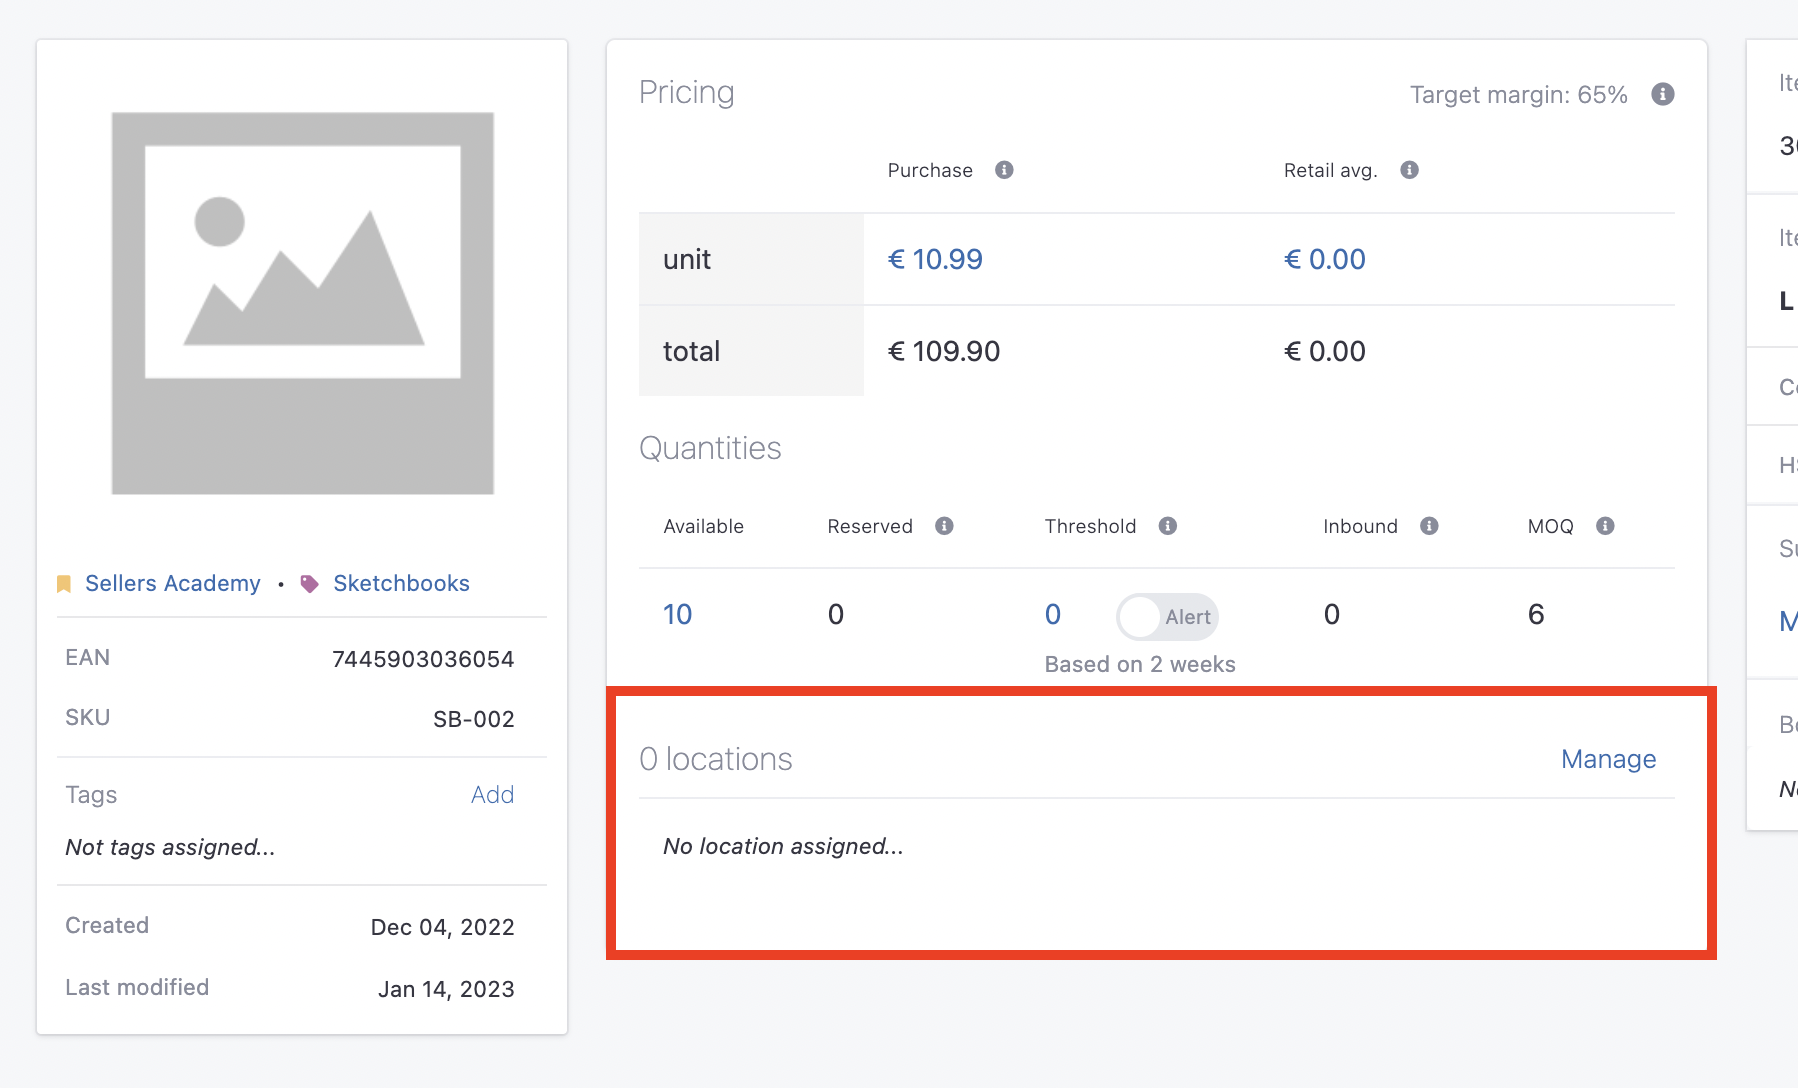
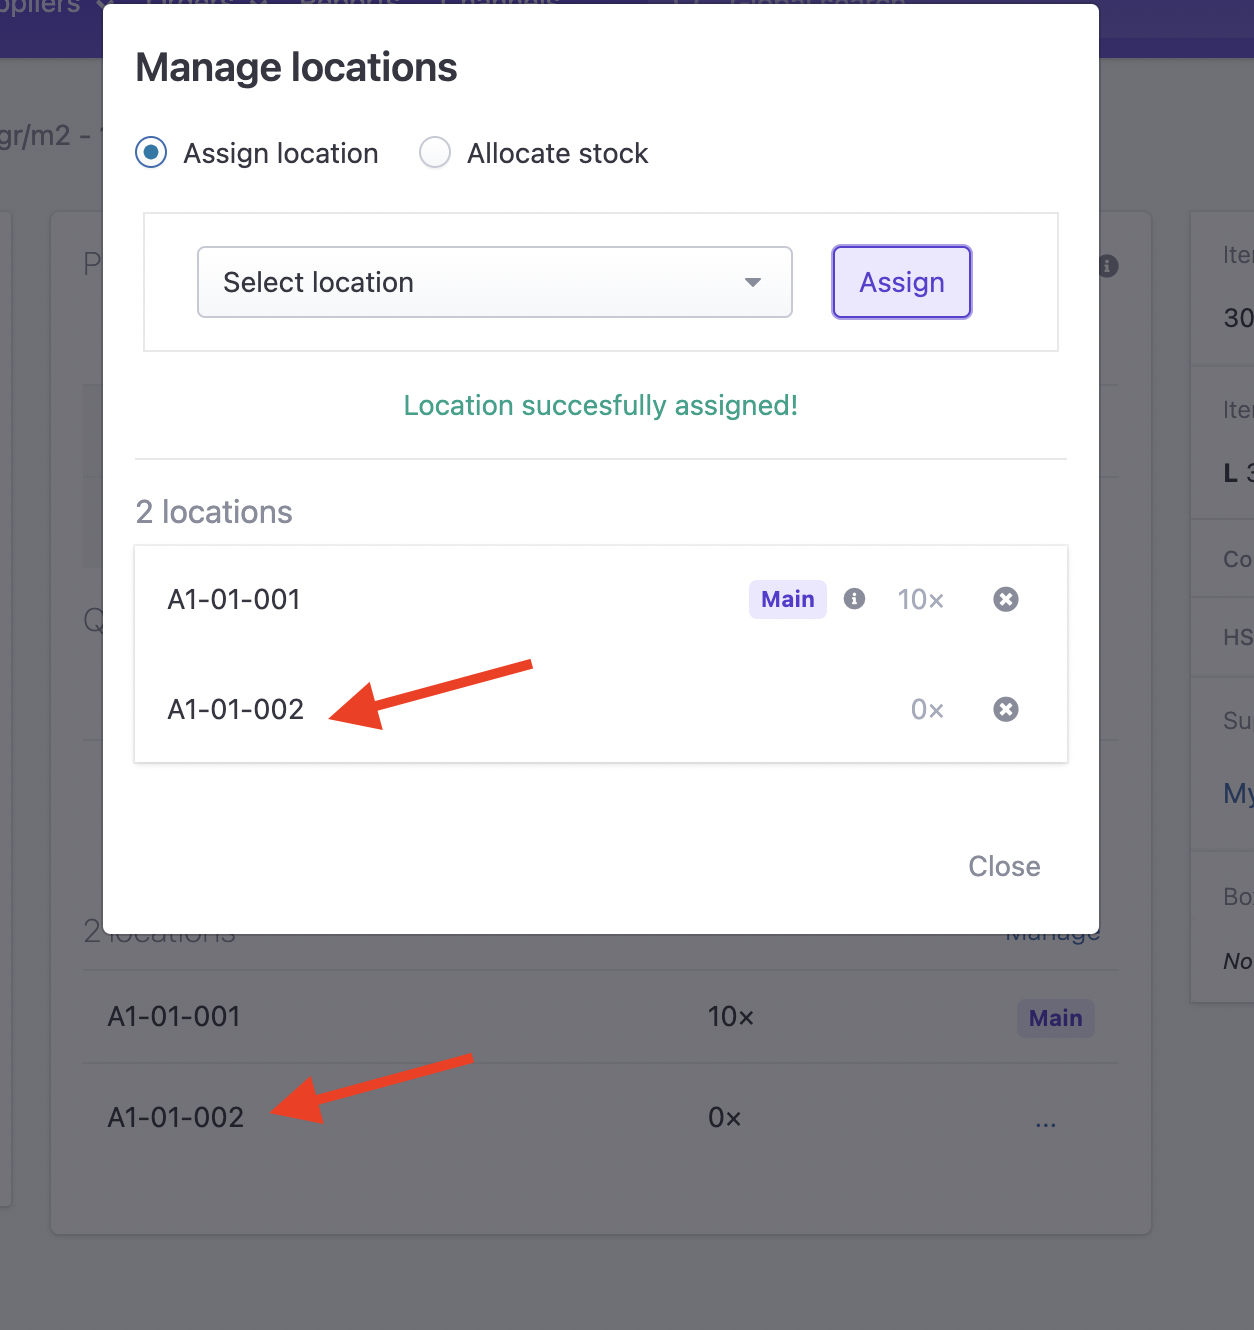
If we click the Manage button on the right a popup appears, where we can manage our location(s) for this specific variant.
Here you can select a location and click the Assign button.
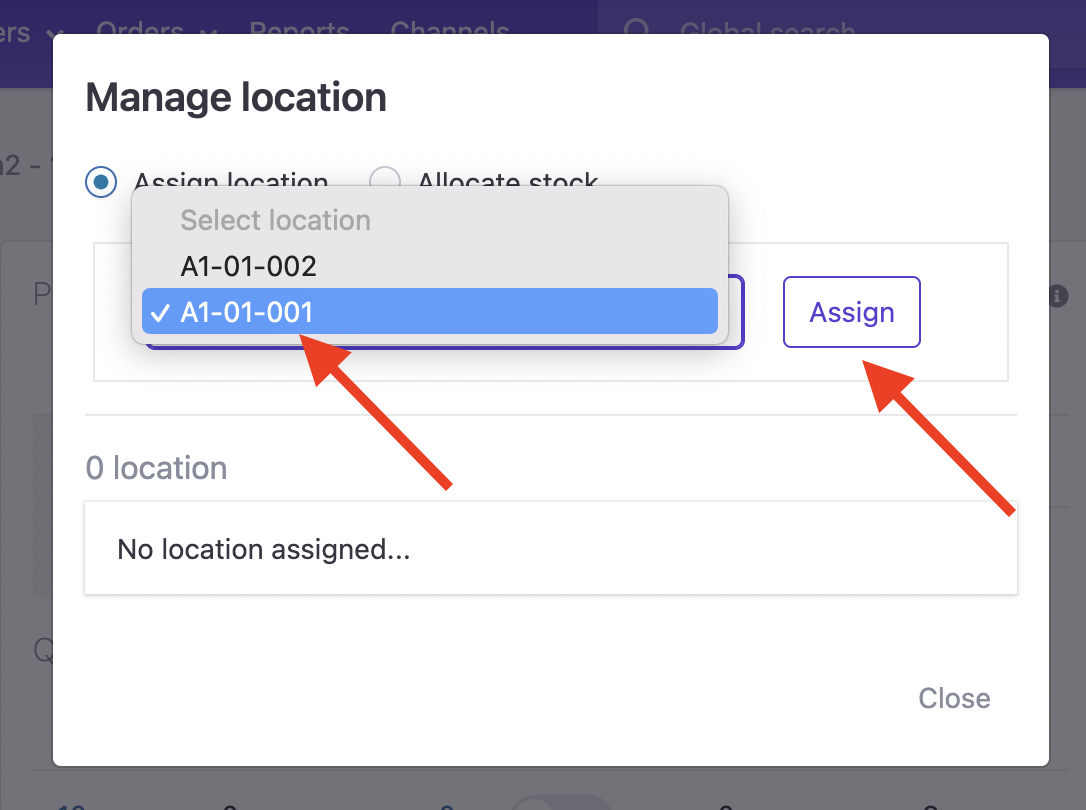
We now see the location being added to the locations section and a badge with the text Main will be shown on the first location that is assigned.
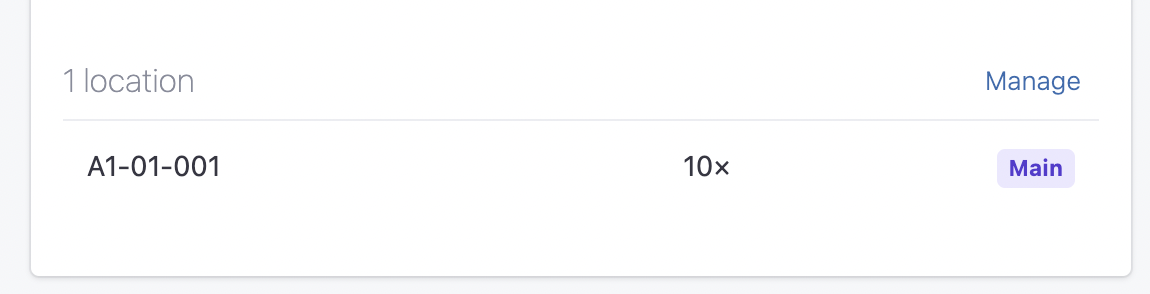
This location will now be shown in the warehouse flow, while order picking, packing and labeling.
Working with multiple locations
In Stockpilot it is possible to assign multiple locations to one variant. To do this, you simply add a second, third, or even more locations the same way we've added the first location.
You will notice that only the first location added carries the Main badge. This is the main location and when you update inventory it will automatically be assigned to this location. If you want to allocation quantities between the locations, you can click on Allocate stock on the top of the manage location popup.
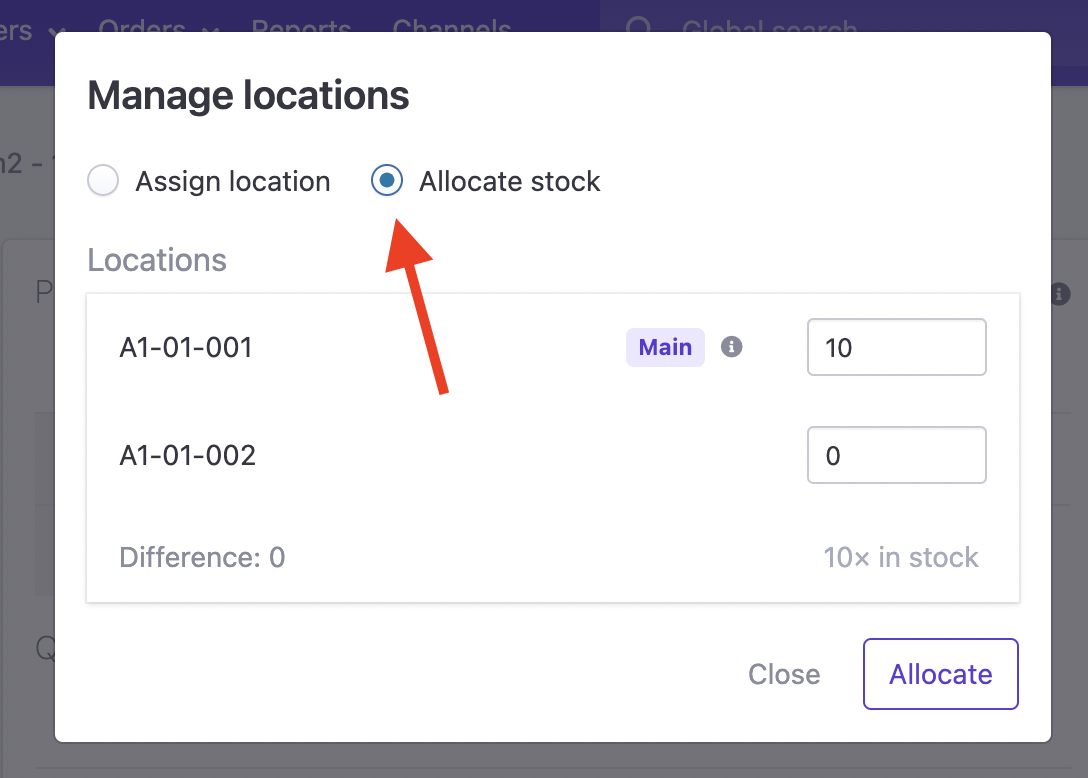
Here you can change the quantities between locations. Make sure it has to match the available quantity!
If many orders come in and the quantity of the main location hits to zero, Stockpilot automatically suggests the second and/or third (and/or more) location in the warehousing flow, matching the location quantities with the ordered quantity.
I hope this article helped you understanding to work with locations in Stockpilot. If you still have questions, please reach out to us via email, chat or phone. We're here to help!