Integrate Sendcloud to Stockpilot
 Updated
In the following steps we will show you how to integrate Sendcloud to Stockpilot in just a few minutes.
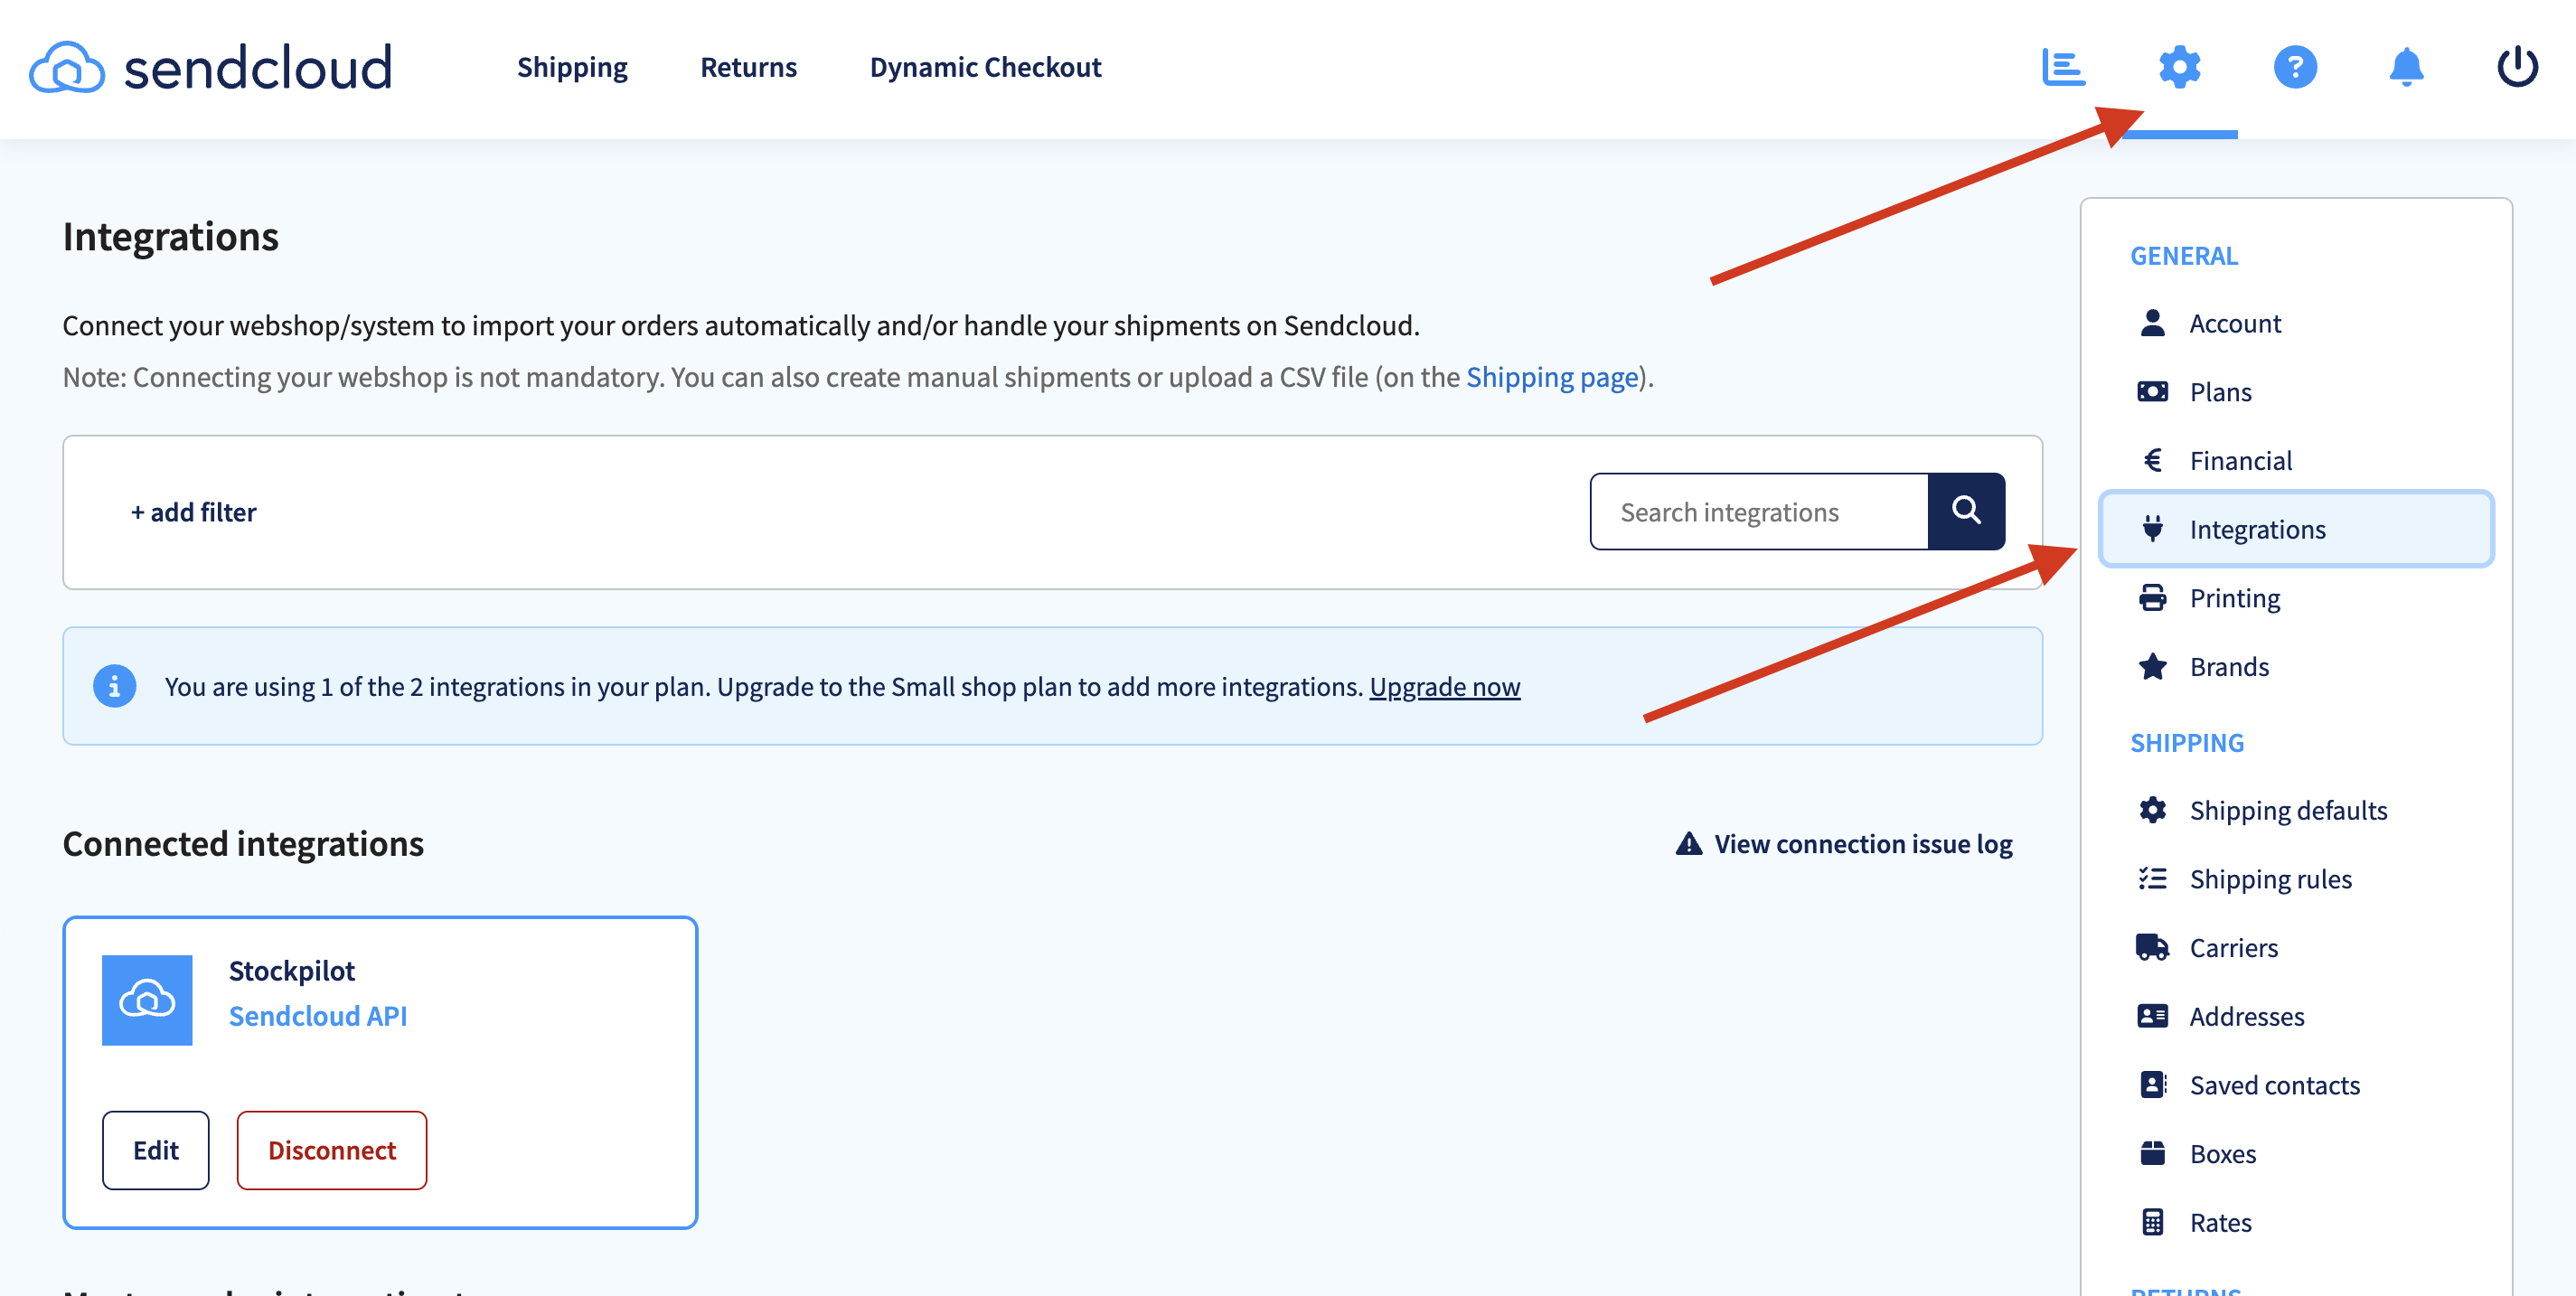
- Login to your Sendcloud account and navigate in the topbar menu to Settings > Integrations.
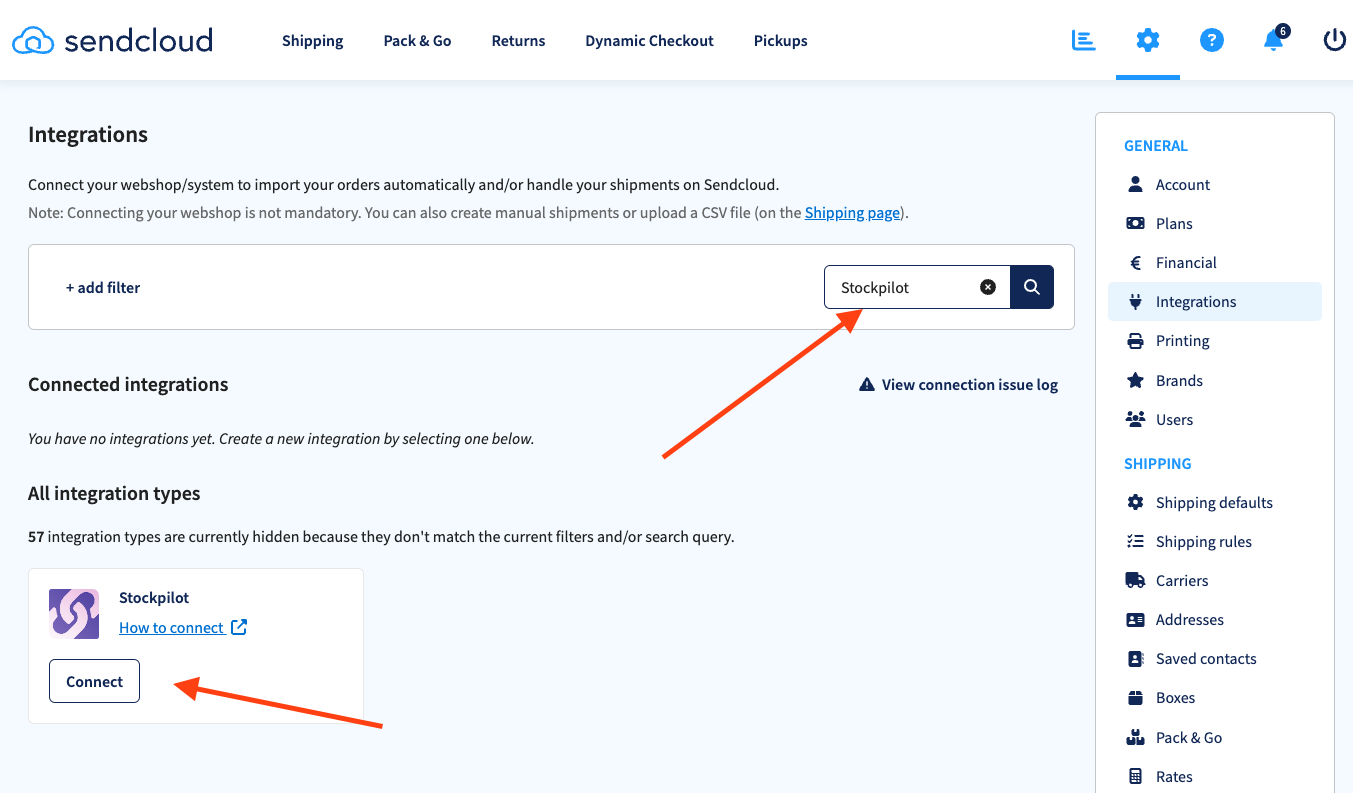
- Search for Stockpilot and click the Connect button in the Stockpilot tile that appears.
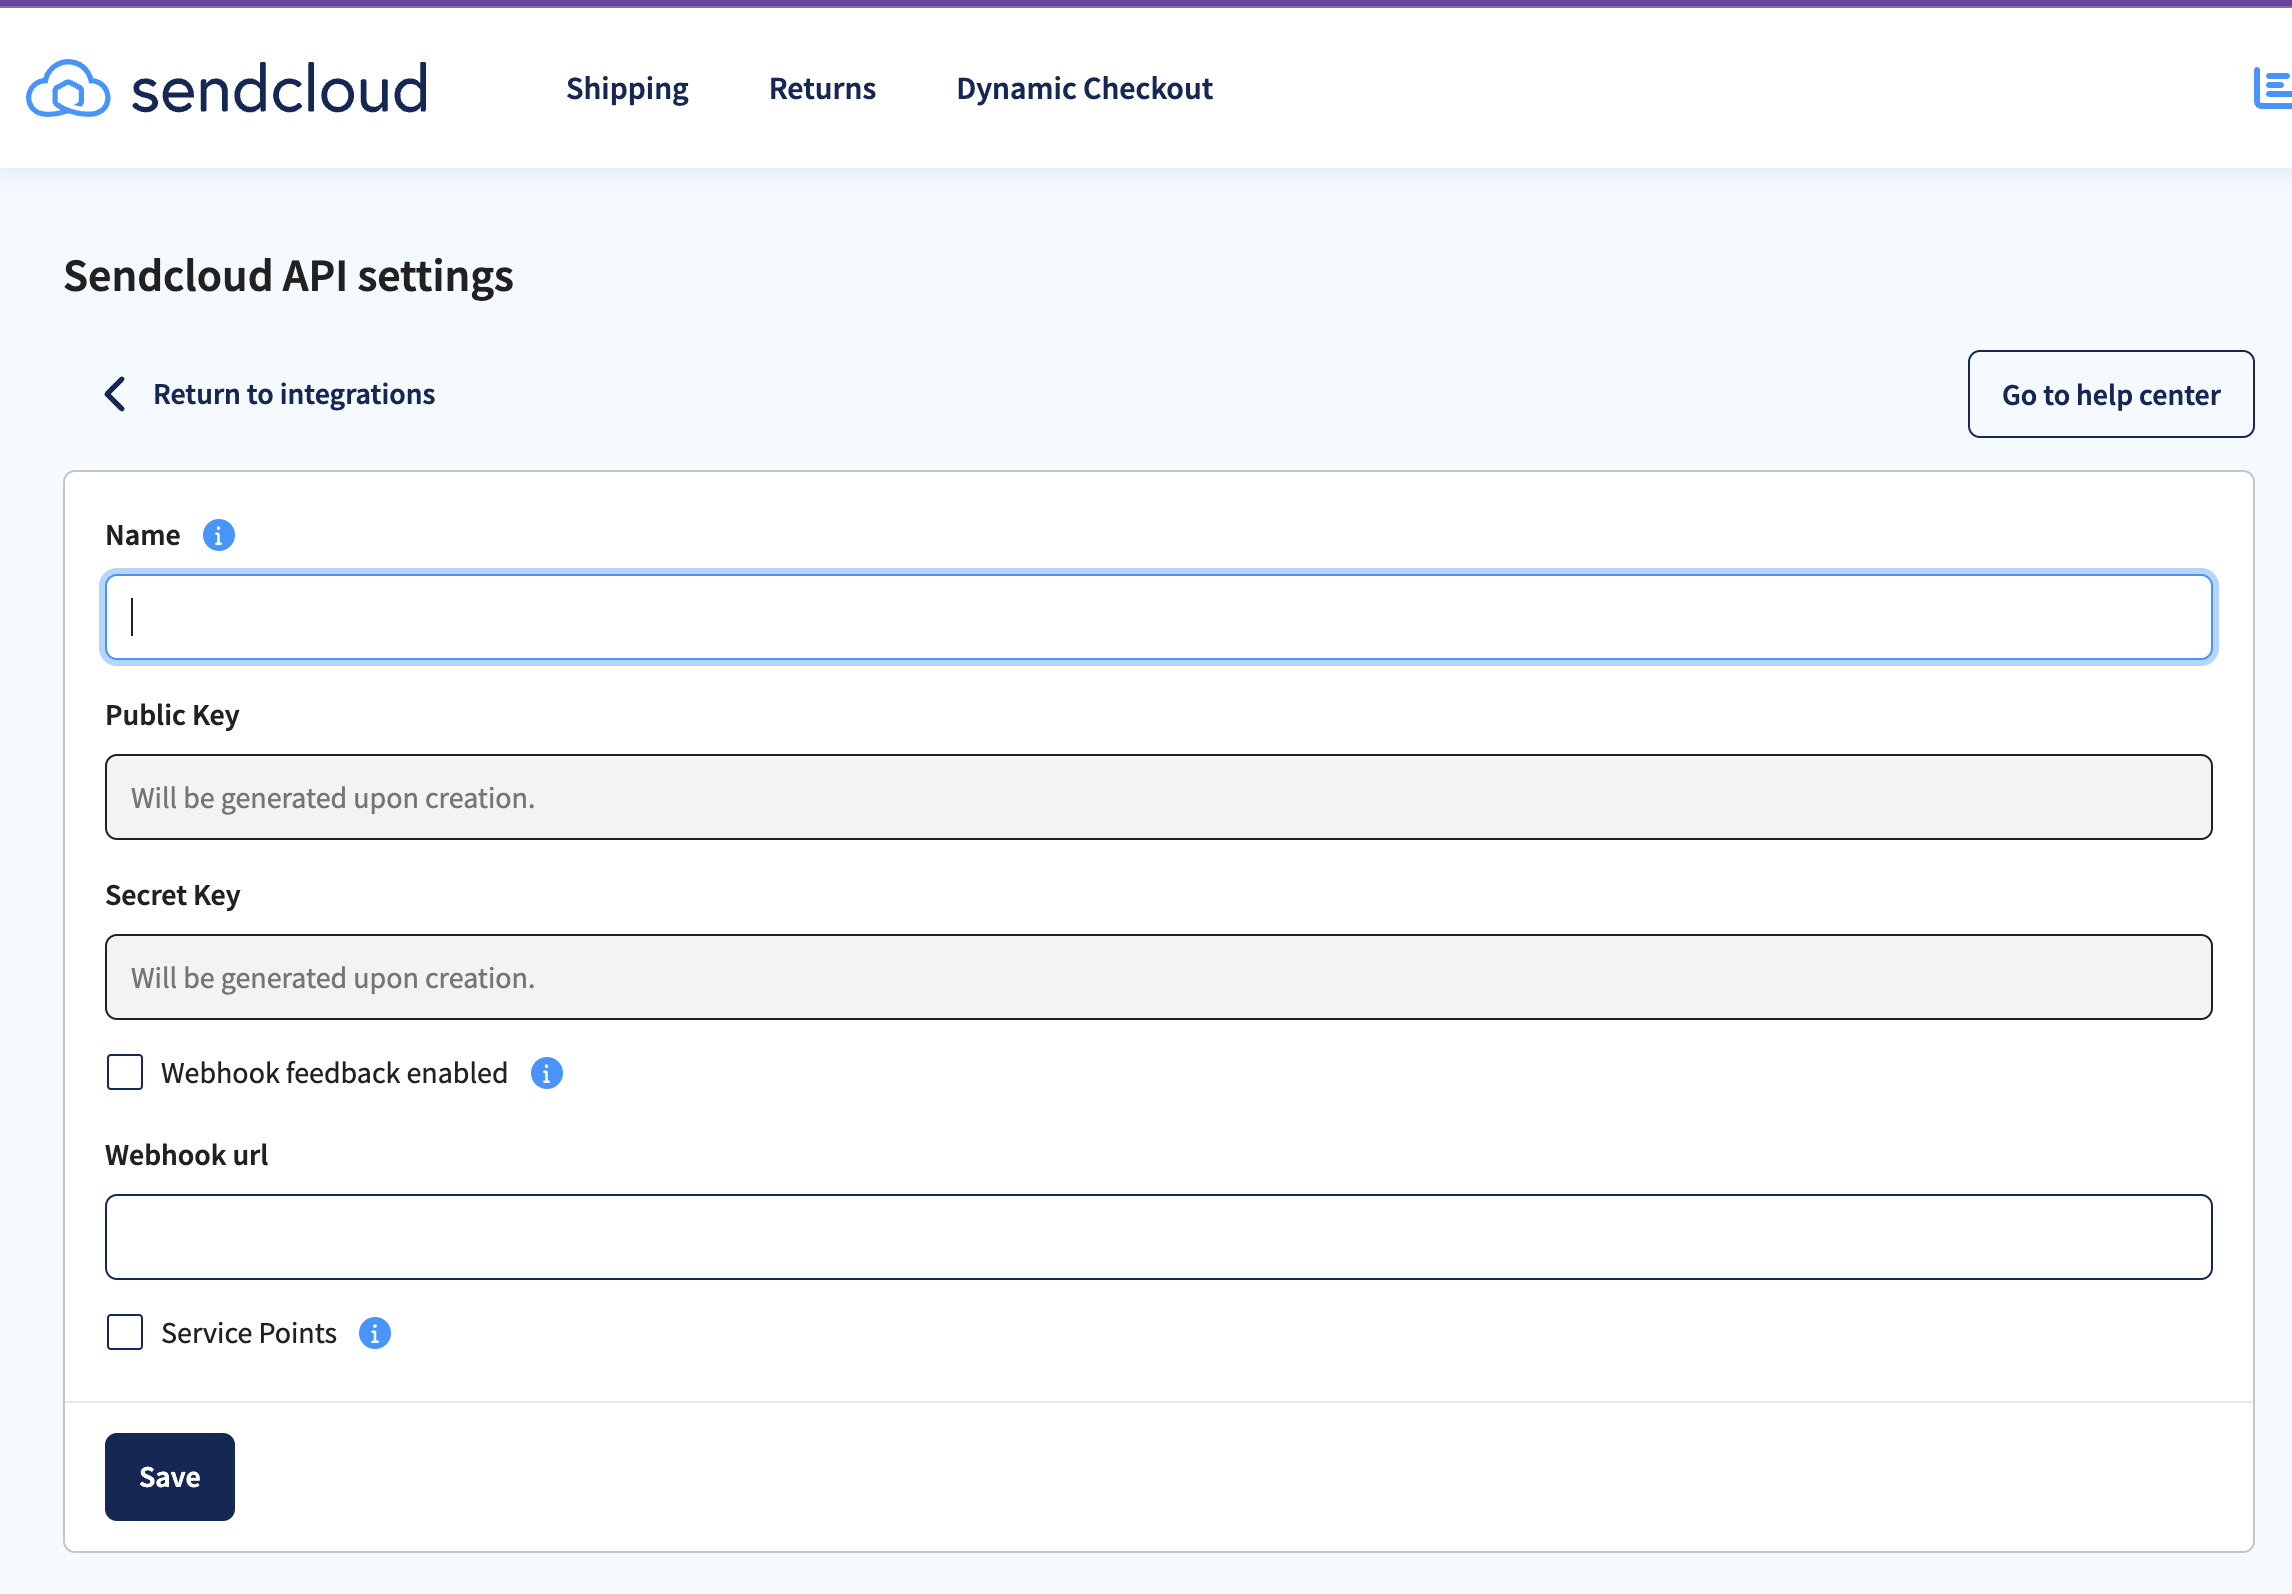
- Next give this connection a name (for example Stockpilot) and hit the Save button. The Public Key and Secret Key will be generated.
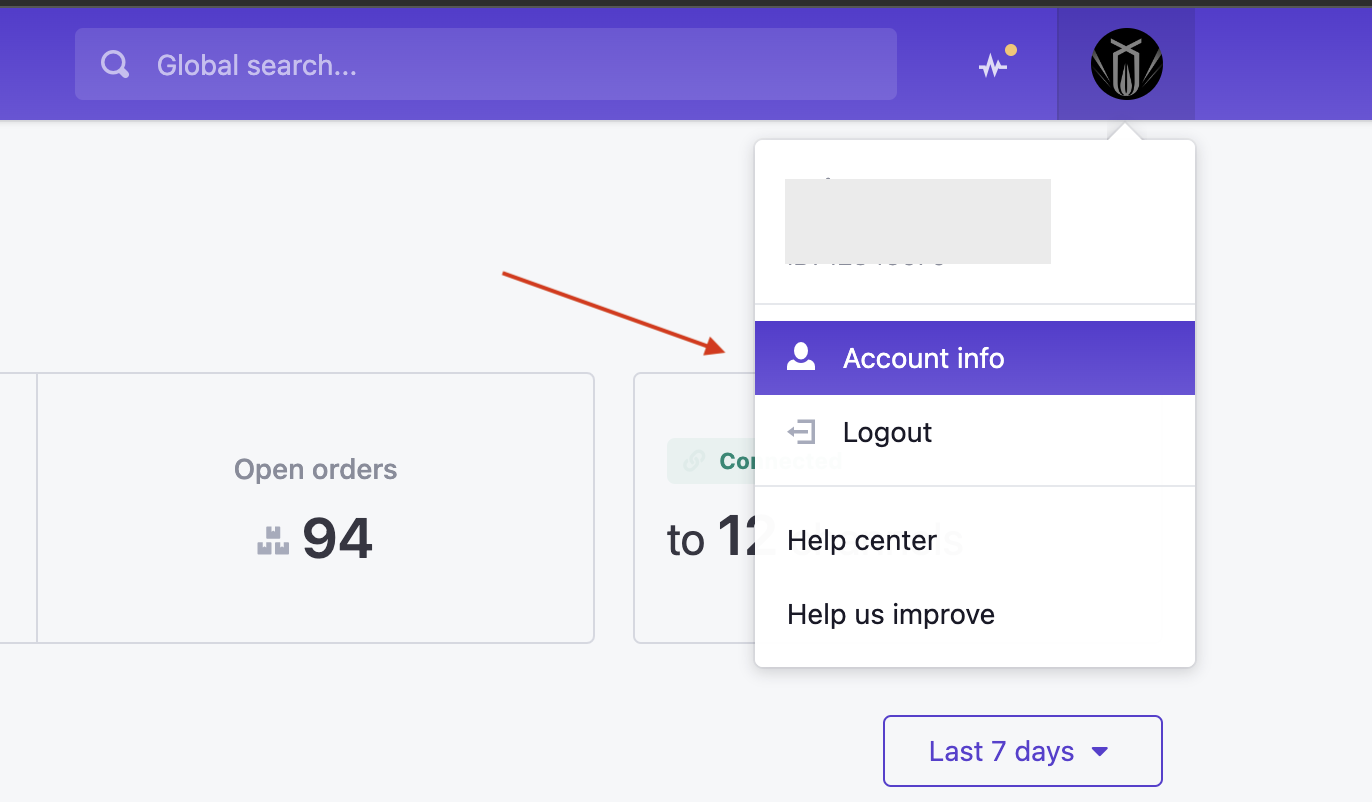
- Go back to Stockpilot and navigate to Account info in the top-right menu.
- Next go to Integrations and then click Shipping on the left. Here you'll find a button New. When you click on it, a popup appears where you can select Sendcloud.

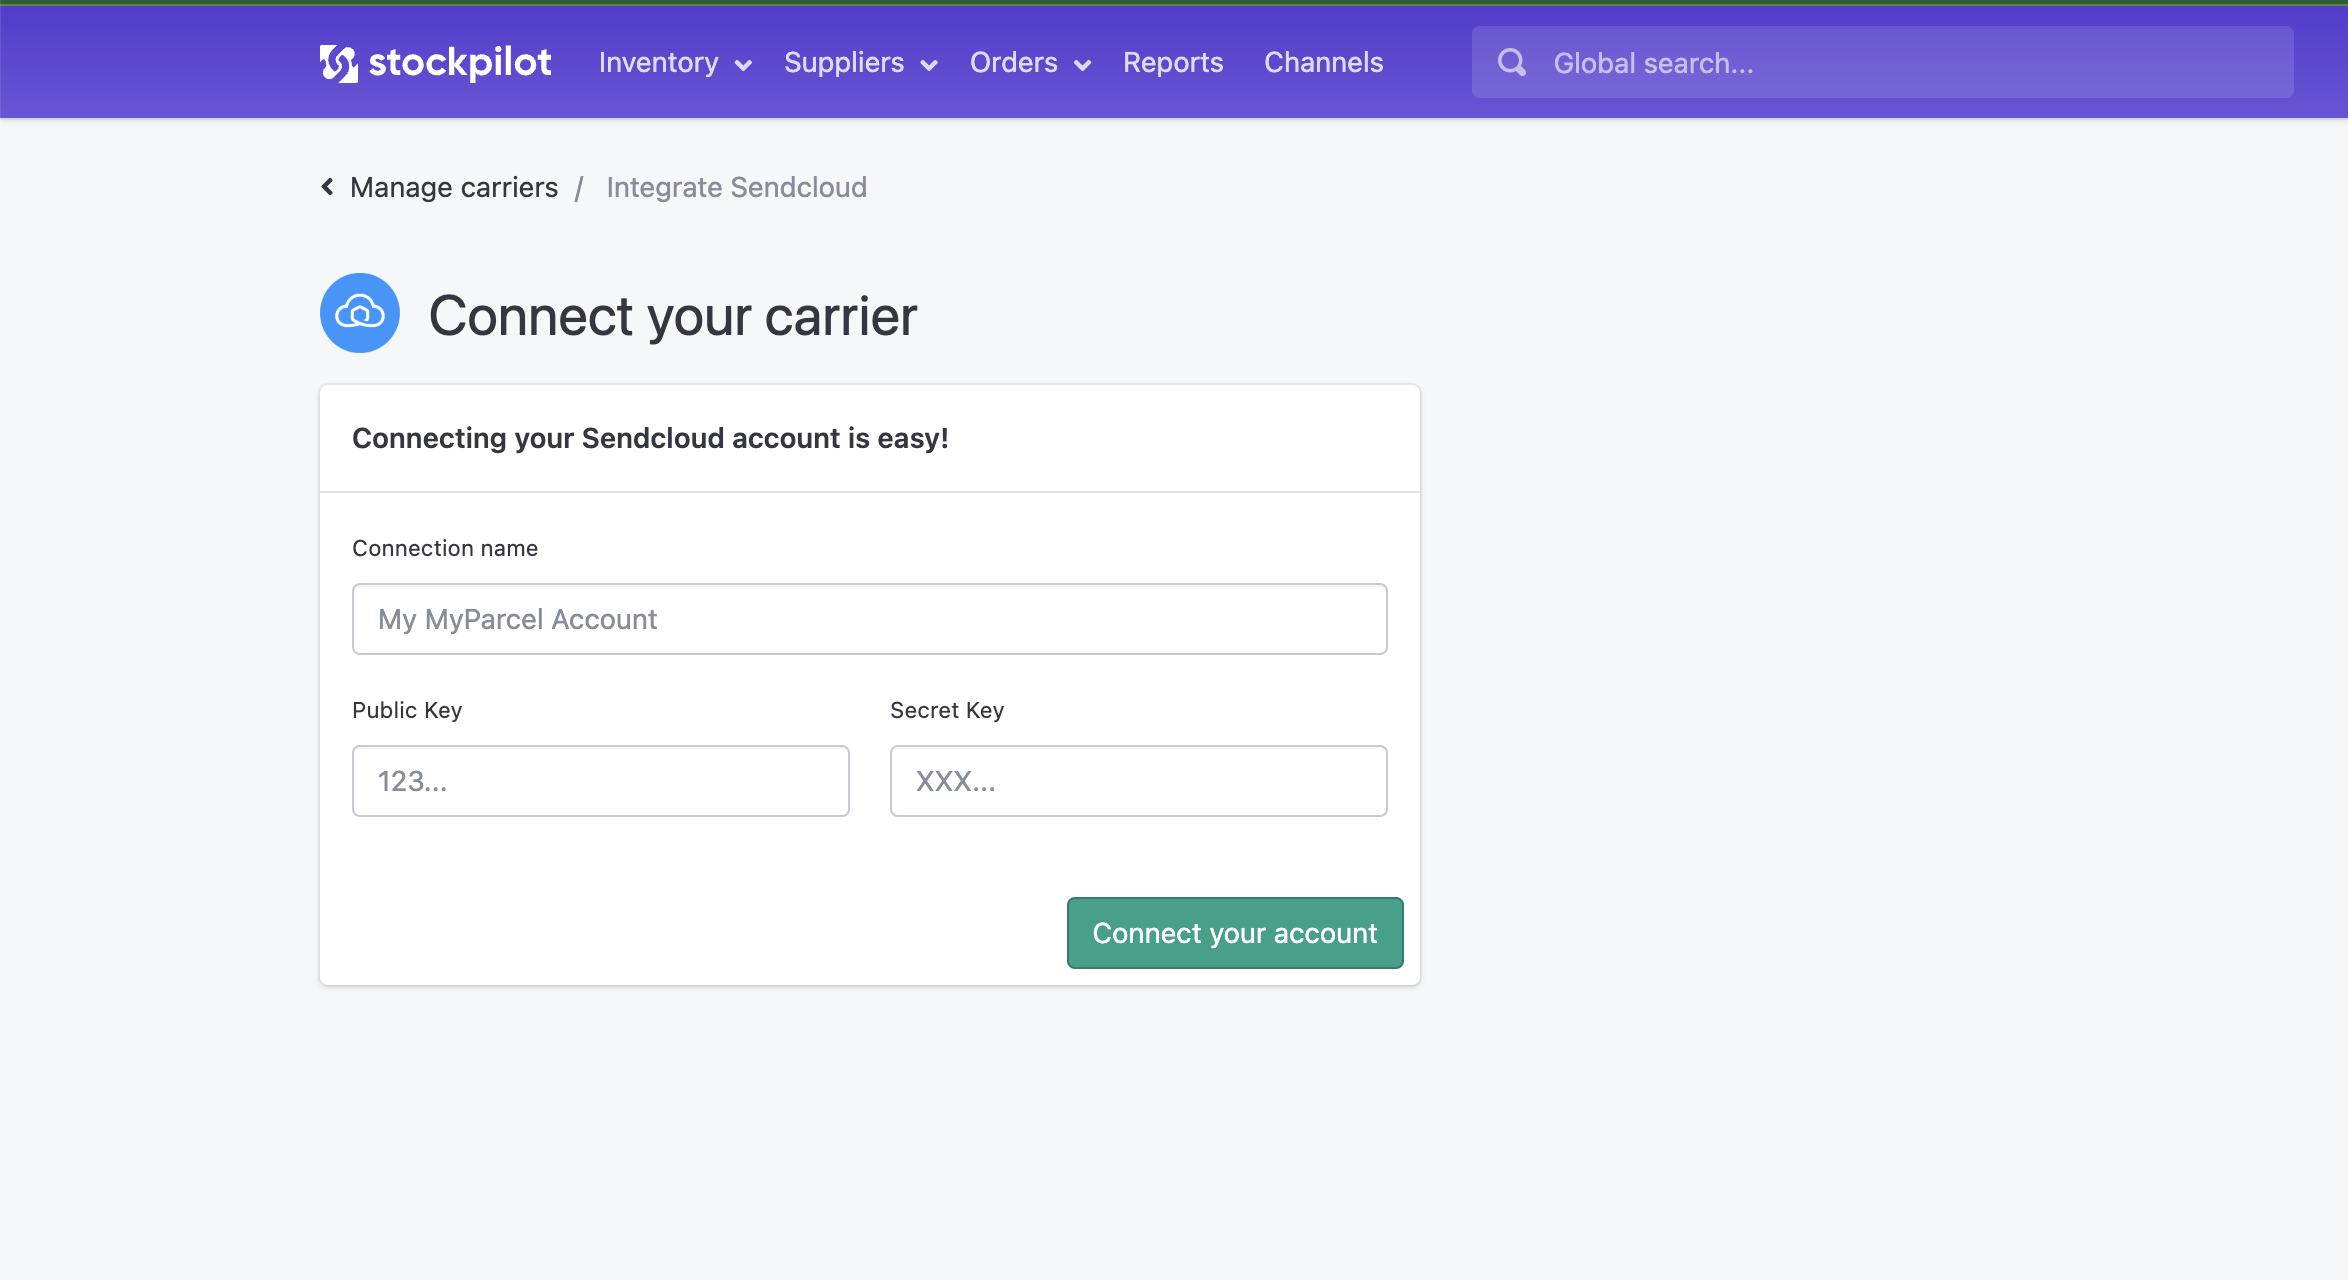
- If you proceed from here you'll land on the integrations page, where you can copy the Public Key and the Secret Key we generated a few steps ago in our Sendcloud account.
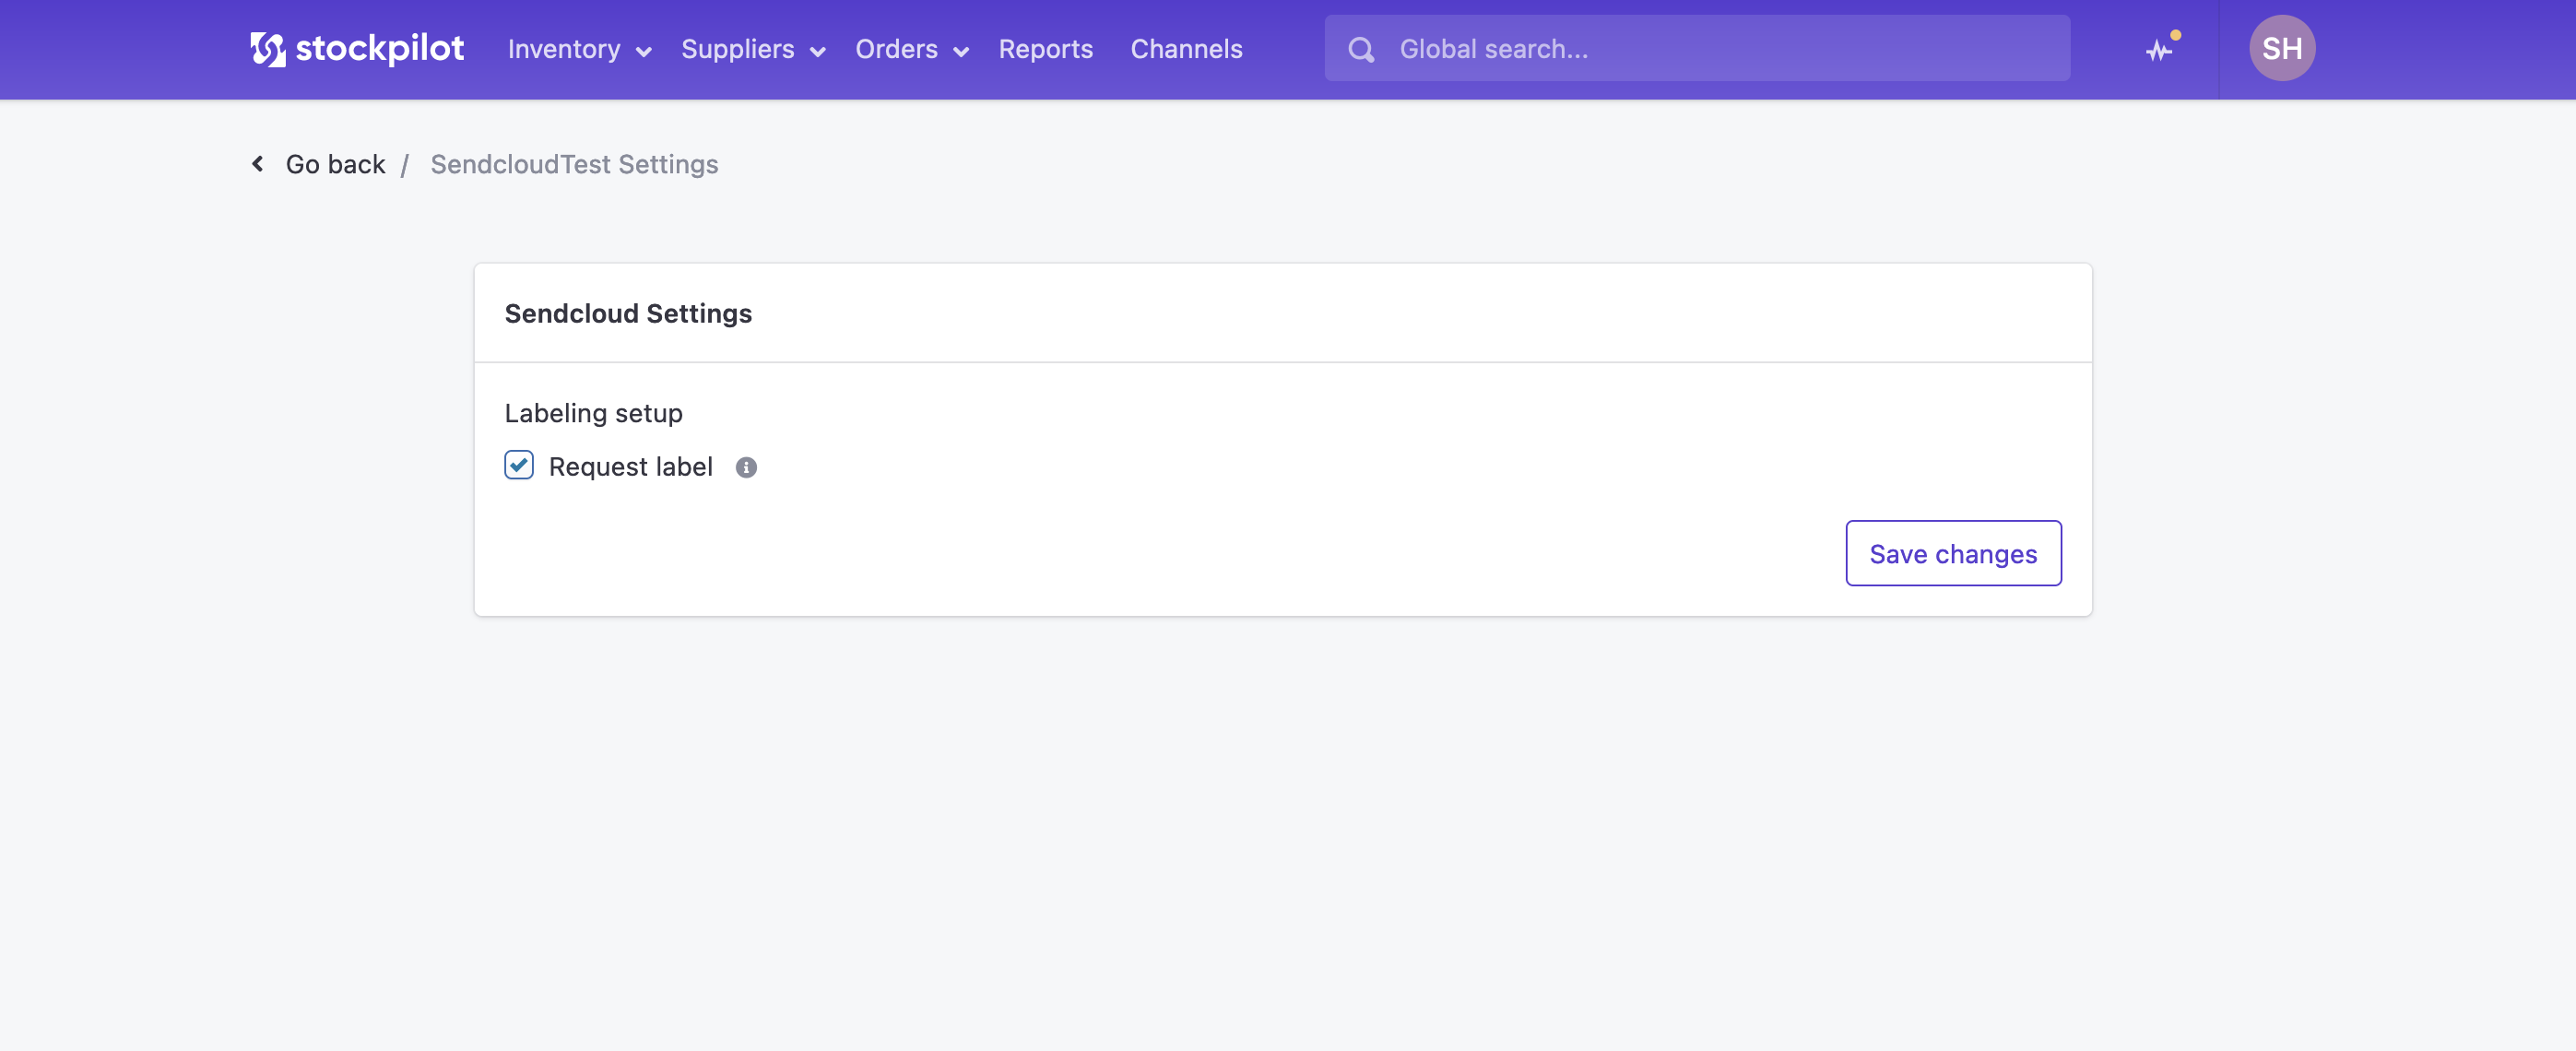
- When the connection is successfully created you will land on the settings page for this integration, where you can check / uncheck the Request label setting.
- You're ready to go!
I hope this article helped you with your Sendcloud integration into your Stockpilot account. If there are any questions, please contact us by chat, email or phone. We're here to help!